# How to use Scaloom with Klenty

1.) Download your Scaloom analyses from Scaloom.com

<figure><img src="https://1347108282-files.gitbook.io/~/files/v0/b/gitbook-x-prod.appspot.com/o/spaces%2FlRsZq3MJ50SRxl5uCypA%2Fuploads%2F925VfPSg6NJtS5r77eYe%2FCopie%20de%20Scaloom%20-%20video.gif?alt=media&#x26;token=10e9e688-49a7-4ed3-9d2a-051e1ccfbf07" alt=""><figcaption></figcaption></figure>

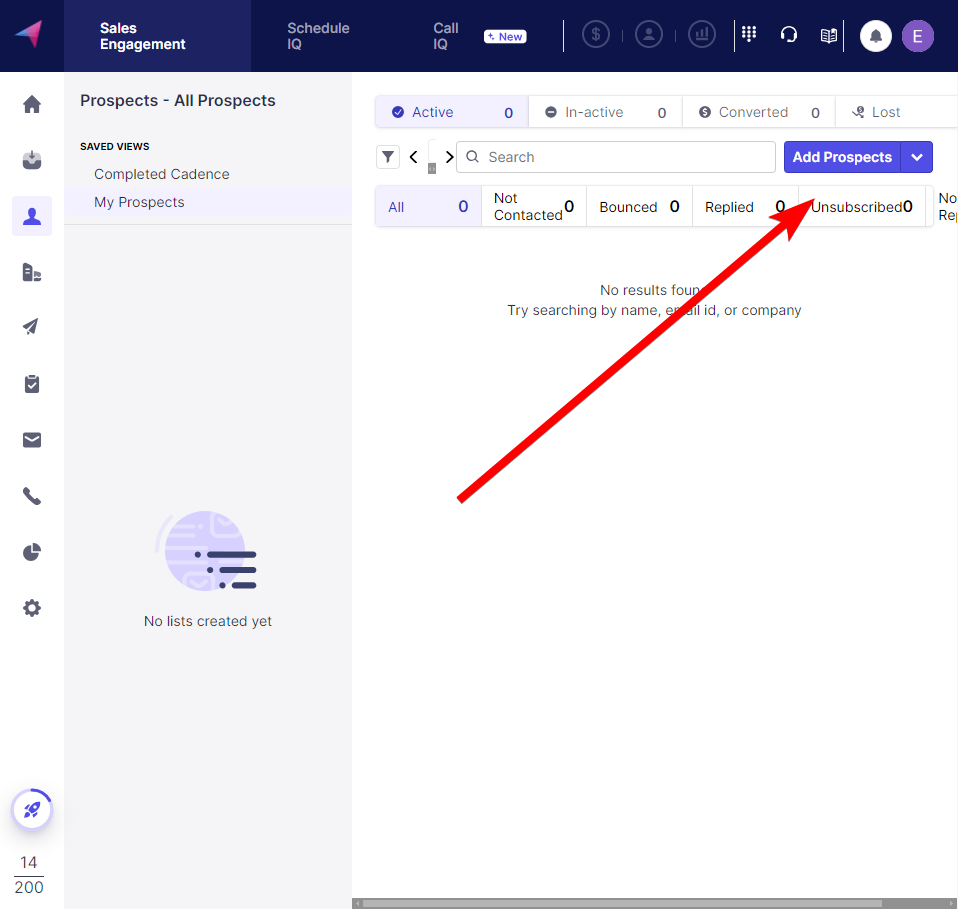
2.) Go to Prospects and Upload your Prospects

<figure><img src="https://staticfiles.gleap.io/helpcenter/6701473a5a5a3552b17b4d63/20241008121012_7504.png" alt=""><figcaption></figcaption></figure>

3.) Select Upload a CSV and import your Scaloom CSV file

<figure><img src="https://staticfiles.gleap.io/helpcenter/6701473a5a5a3552b17b4d63/20241008121012_4679.gif" alt=""><figcaption></figcaption></figure>

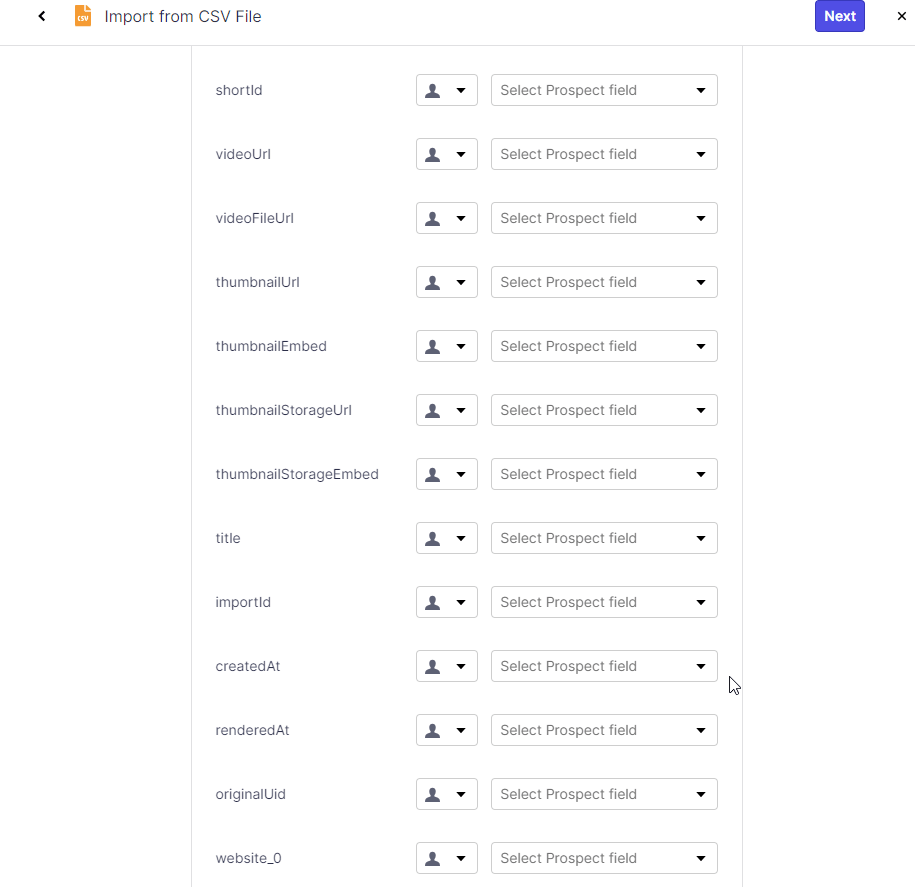
4.) Scroll to the bottom select "create new custom field".

<figure><img src="https://staticfiles.gleap.io/helpcenter/6701473a5a5a3552b17b4d63/20241008121012_7529.gif" alt=""><figcaption></figcaption></figure>

5.) Ensure that ThumbnailEmbed is mapped. Note you will have to create the custom variable which you can do by selecting the "create custom variable" button at the bottom of the page. Map the rest of the columns accordingly.

<figure><img src="https://staticfiles.gleap.io/helpcenter/6701473a5a5a3552b17b4d63/20241008121012_6831.gif" alt=""><figcaption></figcaption></figure>

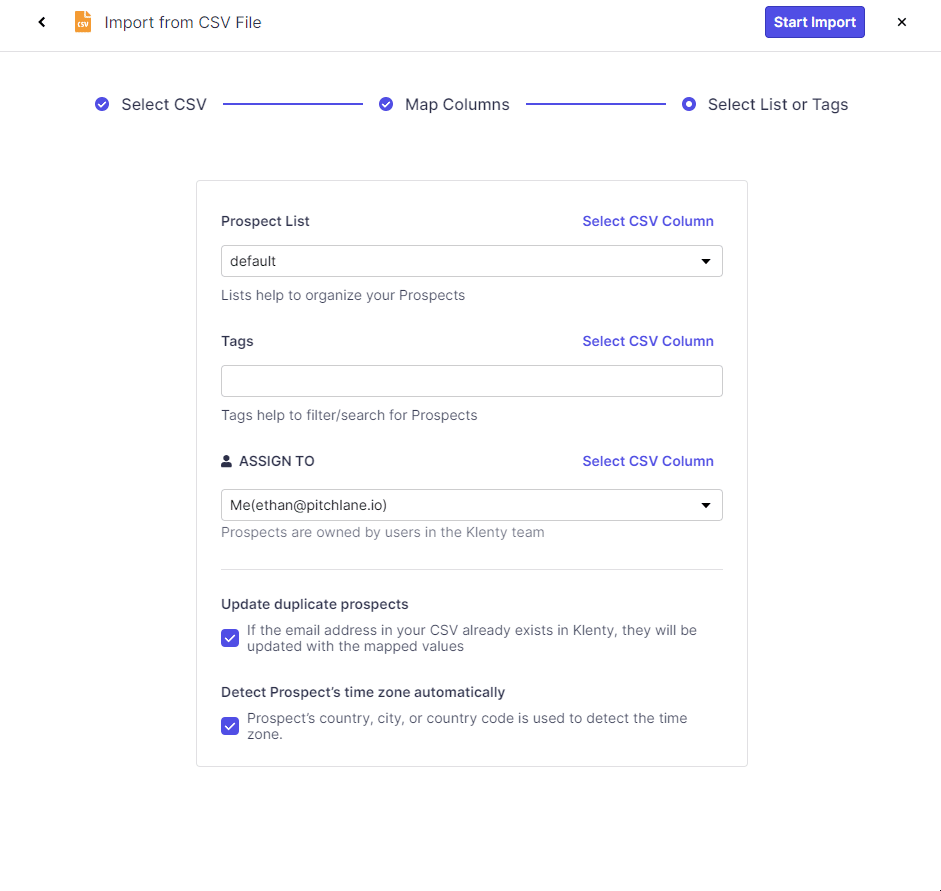
6.) Hit next and create a list and start the import.

<figure><img src="https://staticfiles.gleap.io/helpcenter/6701473a5a5a3552b17b4d63/20241008121012_8088.gif" alt=""><figcaption></figcaption></figure>

<br>

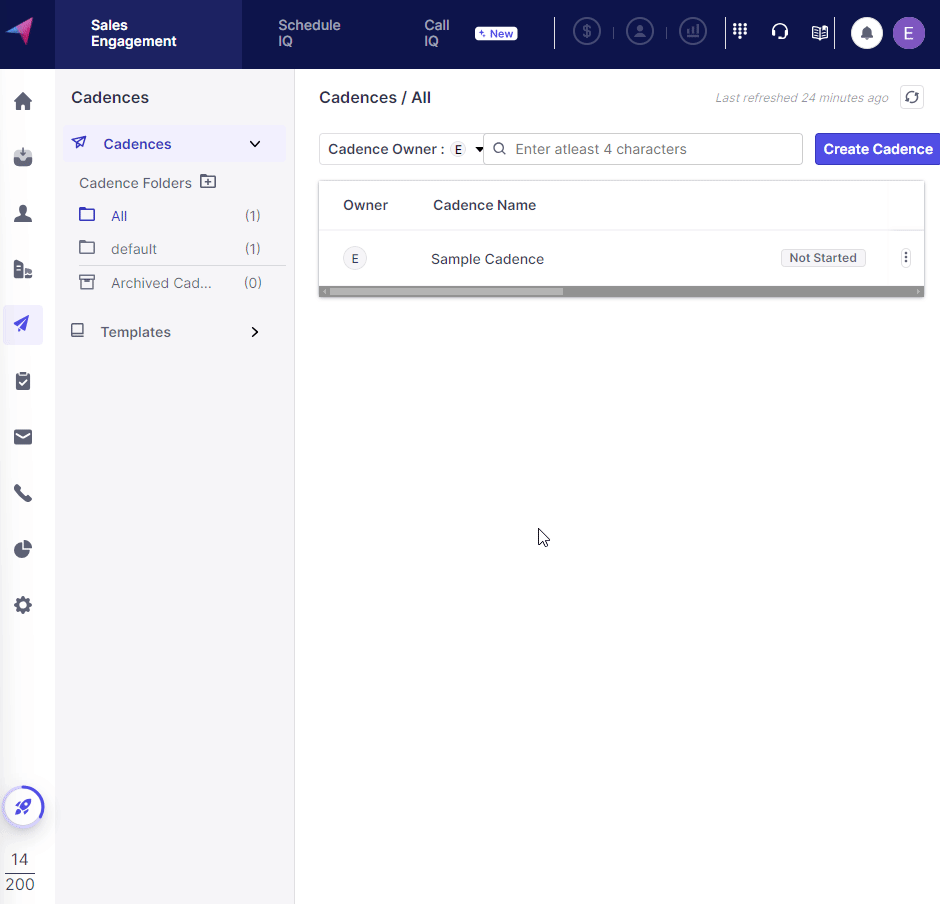
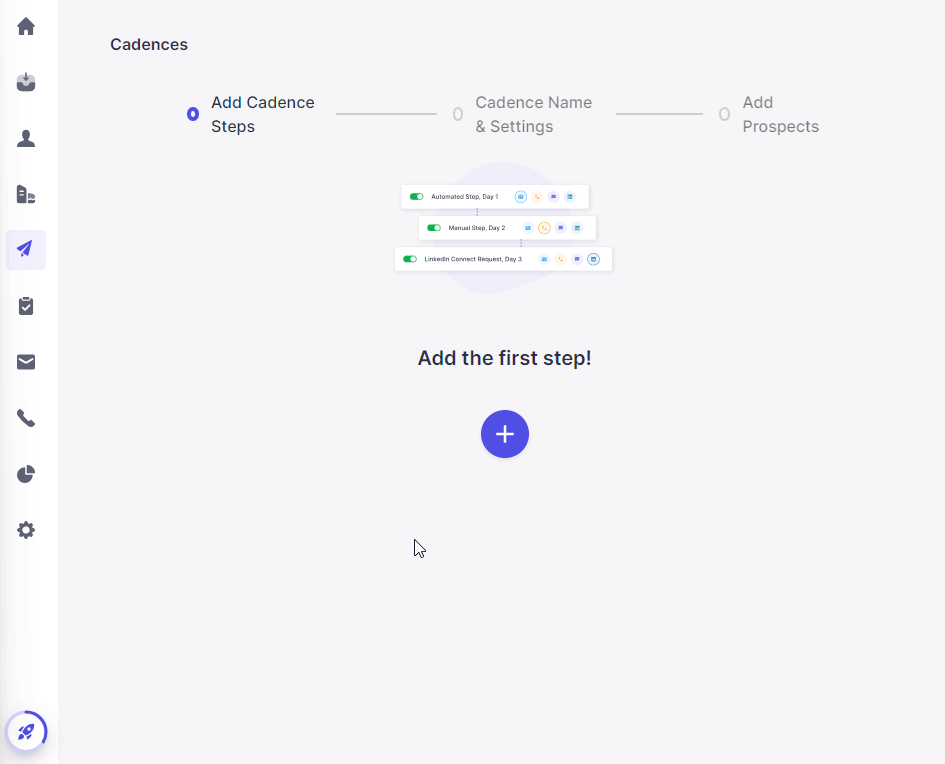
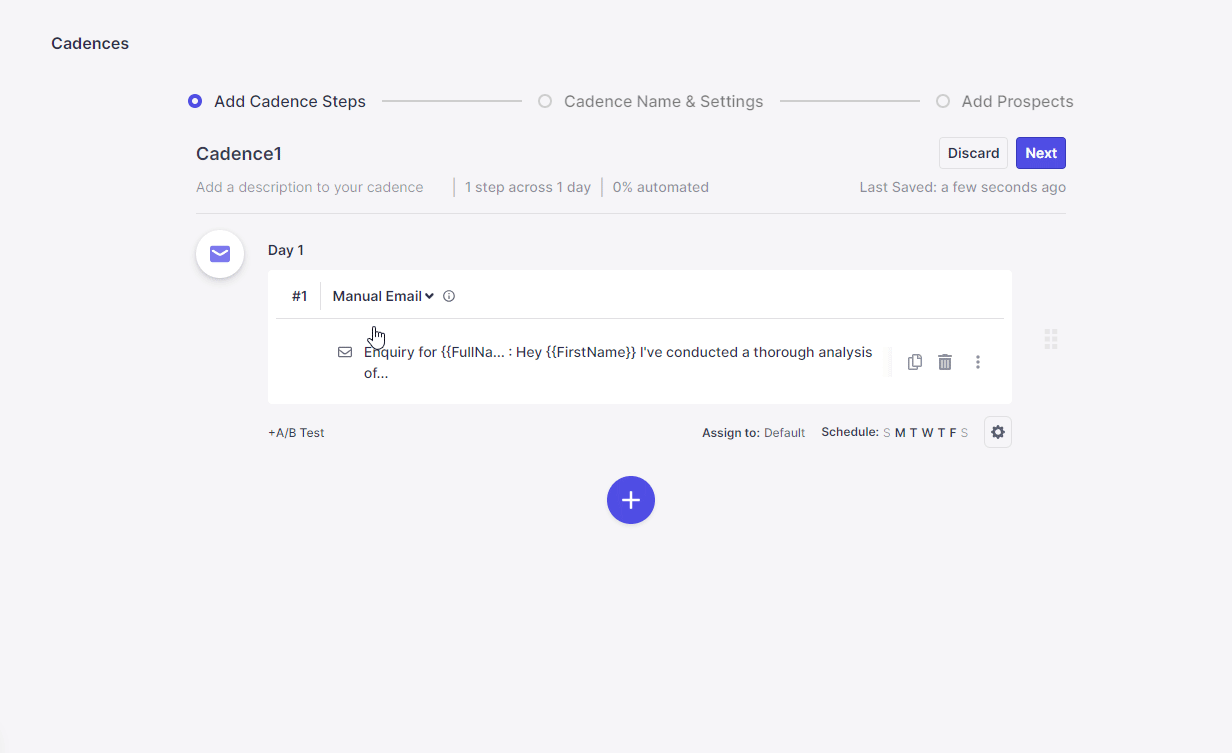
7.) Select Cadences and create a new cadence from scratch.

<figure><img src="https://staticfiles.gleap.io/helpcenter/6701473a5a5a3552b17b4d63/20241008121012_7252.gif" alt=""><figcaption></figcaption></figure>

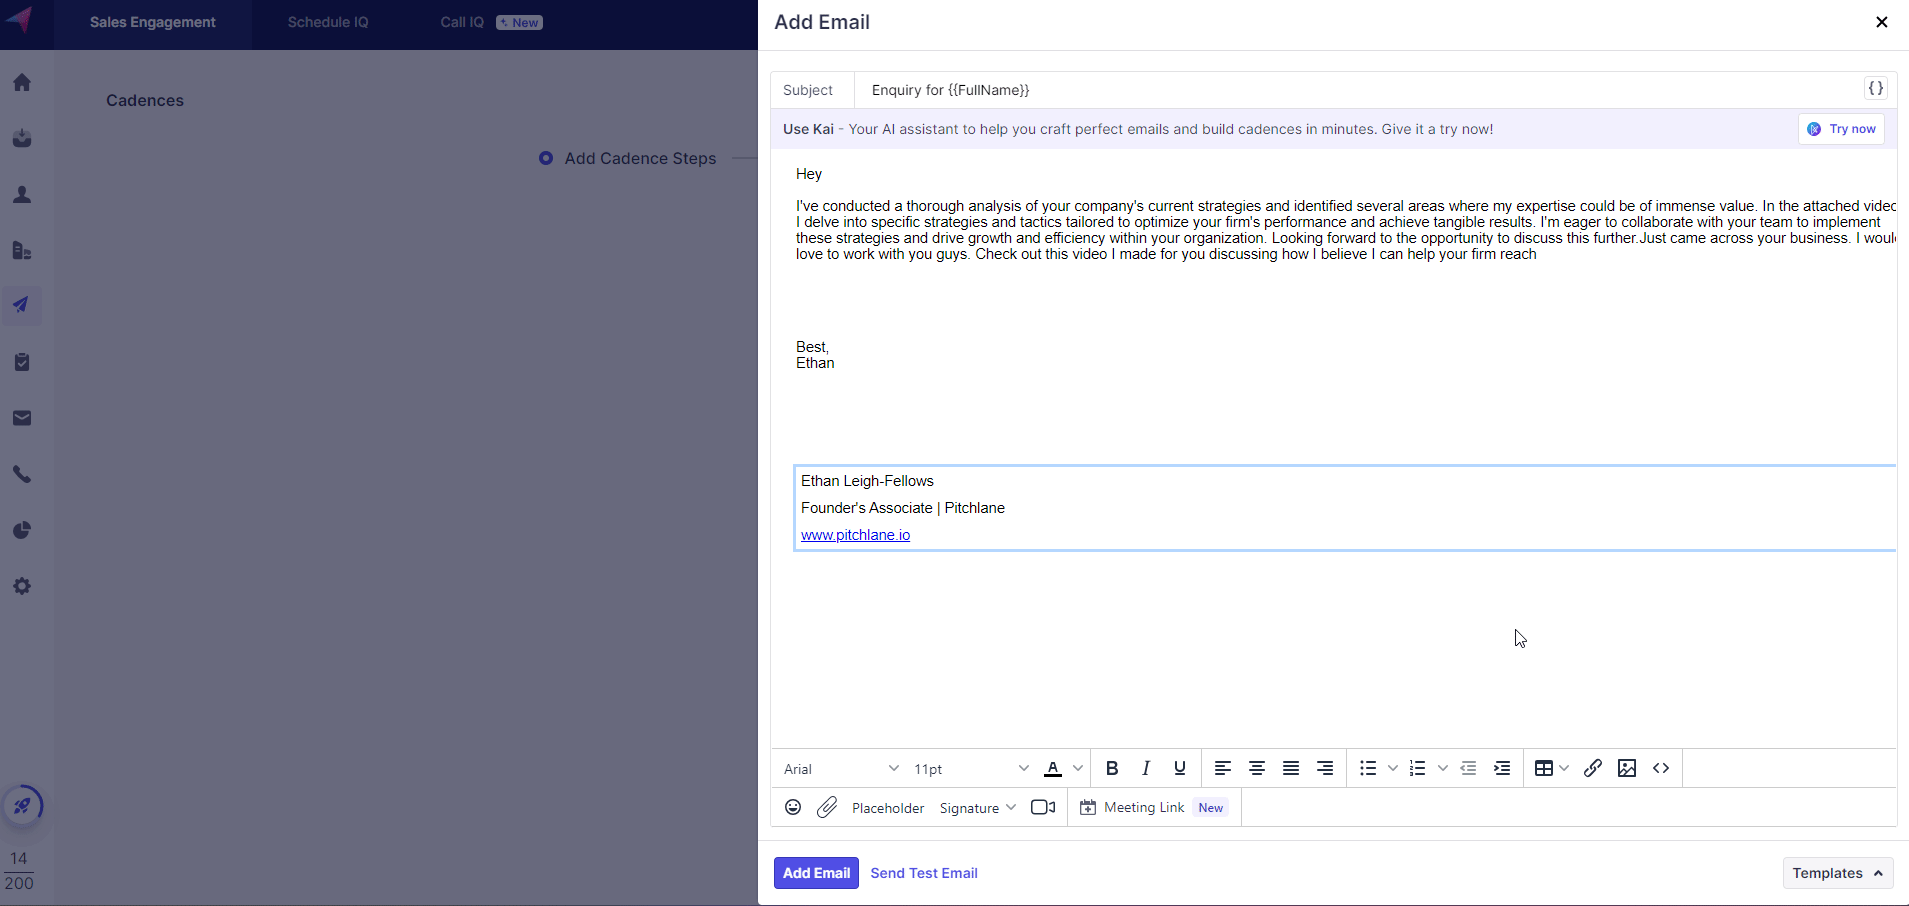
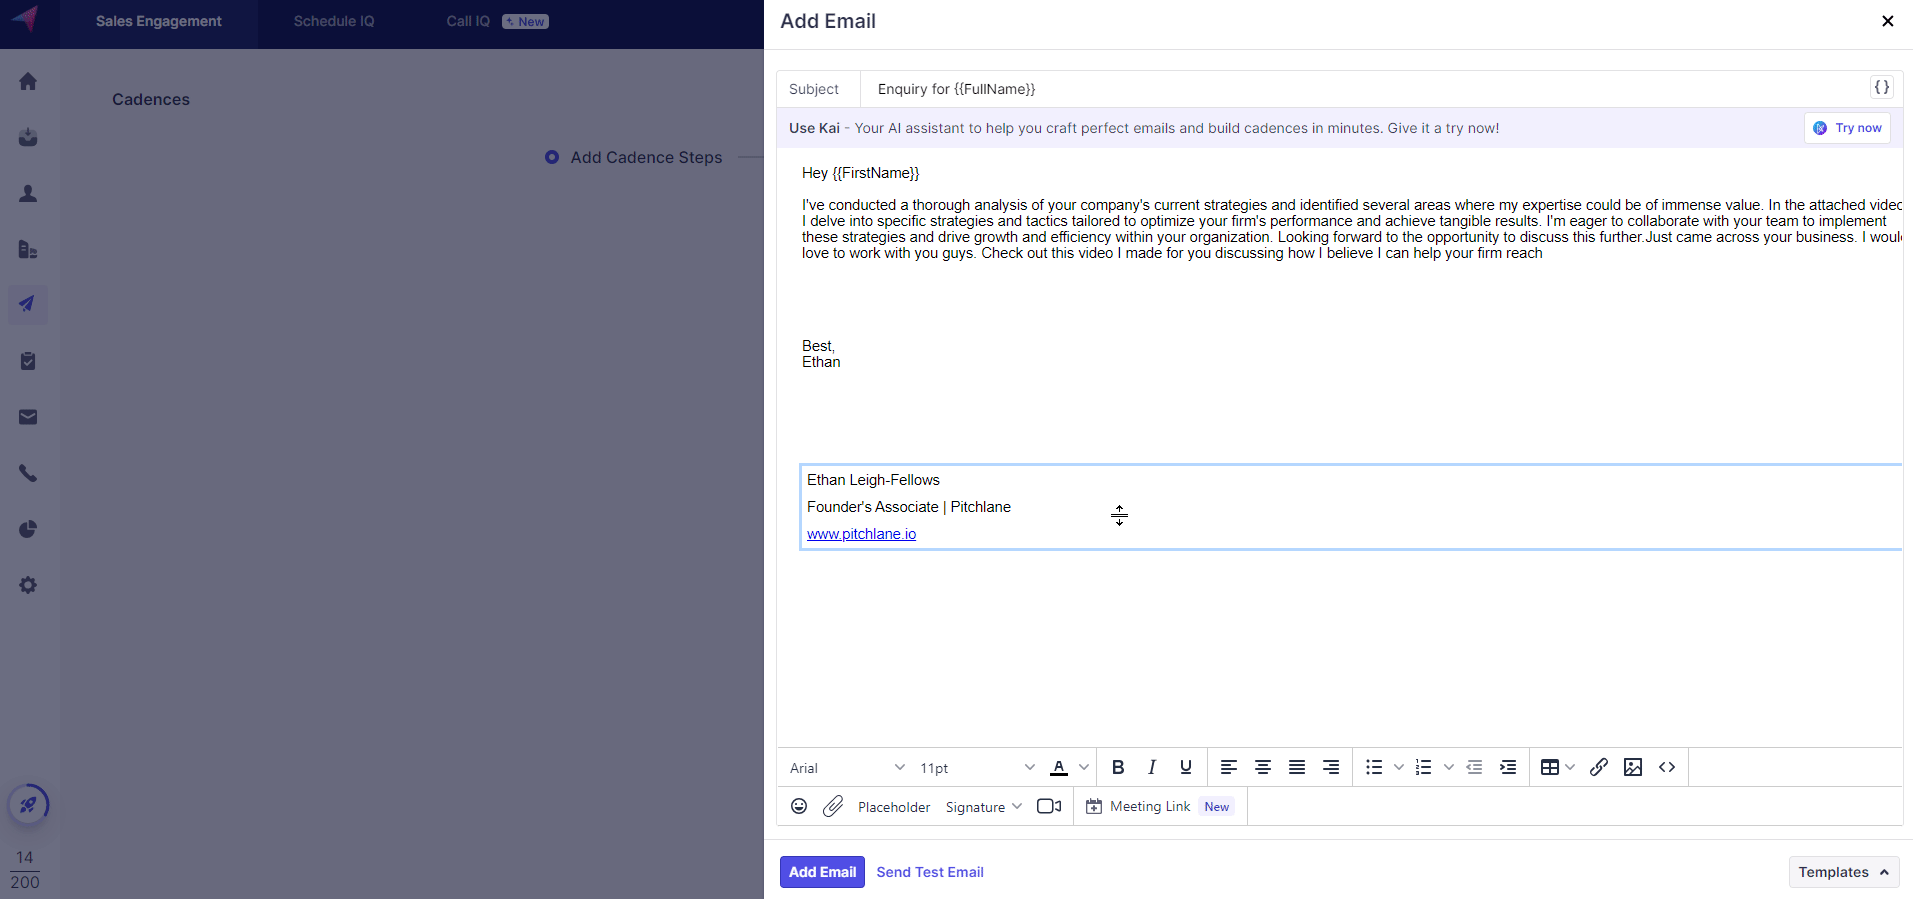
8.) Add an email step

<figure><img src="https://staticfiles.gleap.io/helpcenter/6701473a5a5a3552b17b4d63/20241008121012_1198.gif" alt=""><figcaption></figcaption></figure>

9.) Craft your outreach message!

<figure><img src="https://staticfiles.gleap.io/helpcenter/6701473a5a5a3552b17b4d63/20241008121012_0178.gif" alt=""><figcaption></figcaption></figure>

10.) Implement your Scaloom analyse!

<figure><img src="https://staticfiles.gleap.io/helpcenter/6701473a5a5a3552b17b4d63/20241008121012_7802.gif" alt=""><figcaption></figcaption></figure>

11.) Select "Automated Email" and select Next

<figure><img src="https://staticfiles.gleap.io/helpcenter/6701473a5a5a3552b17b4d63/20241008121012_5604.gif" alt=""><figcaption></figcaption></figure>

<br>

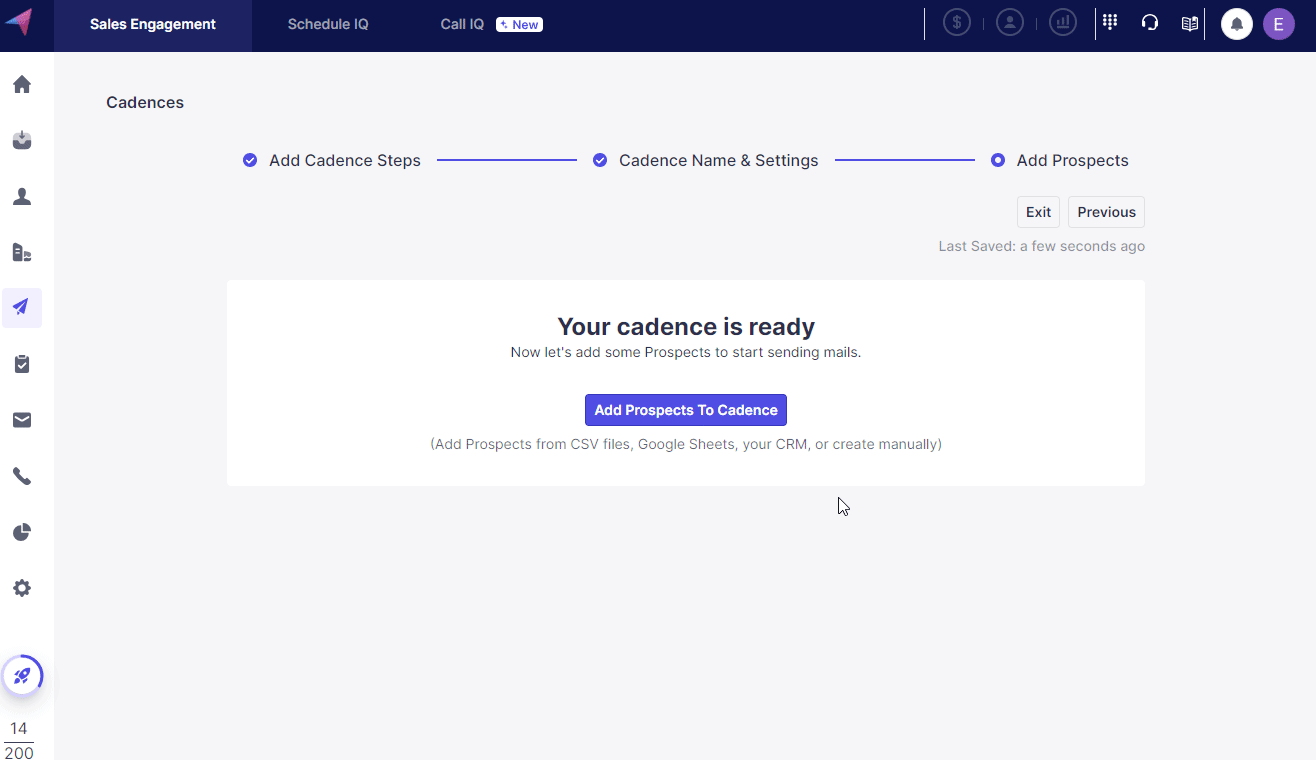
12.) Select Add Prospects and select the prospects we uploaded!

<br>

<figure><img src="https://staticfiles.gleap.io/helpcenter/6701473a5a5a3552b17b4d63/20241008121012_6052.gif" alt=""><figcaption></figcaption></figure>

13.) Congratulations your Scaloom analyses are now included in your Campaigns!
