# How to use Scaloom with Hubspot
If you're currently using Hubspot to reach out to potential prospects, you can easily make your outreach more engaging by including Scaloom Analyses in your emails.
You can use Scaloom analyses in both Hubspot Marketing Emails and Sequences.
## Marketing Emails
#### Import Contacts from Scaloom into Hubspot
1. Export the CSV of your analyses from Scaloom
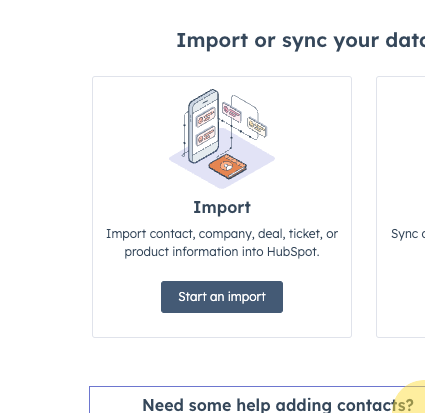
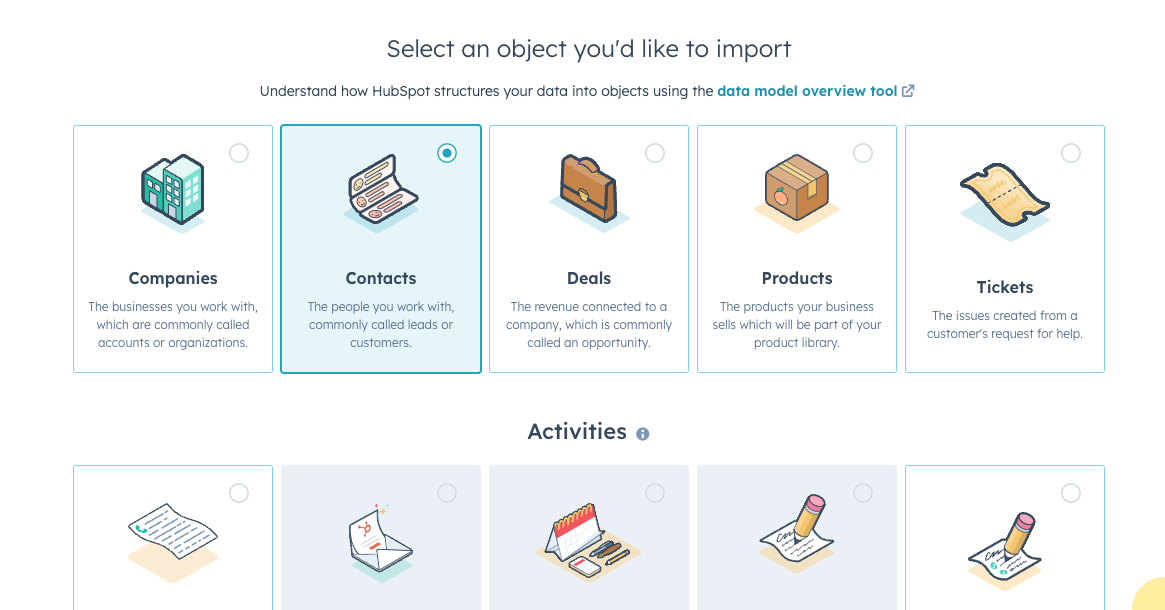
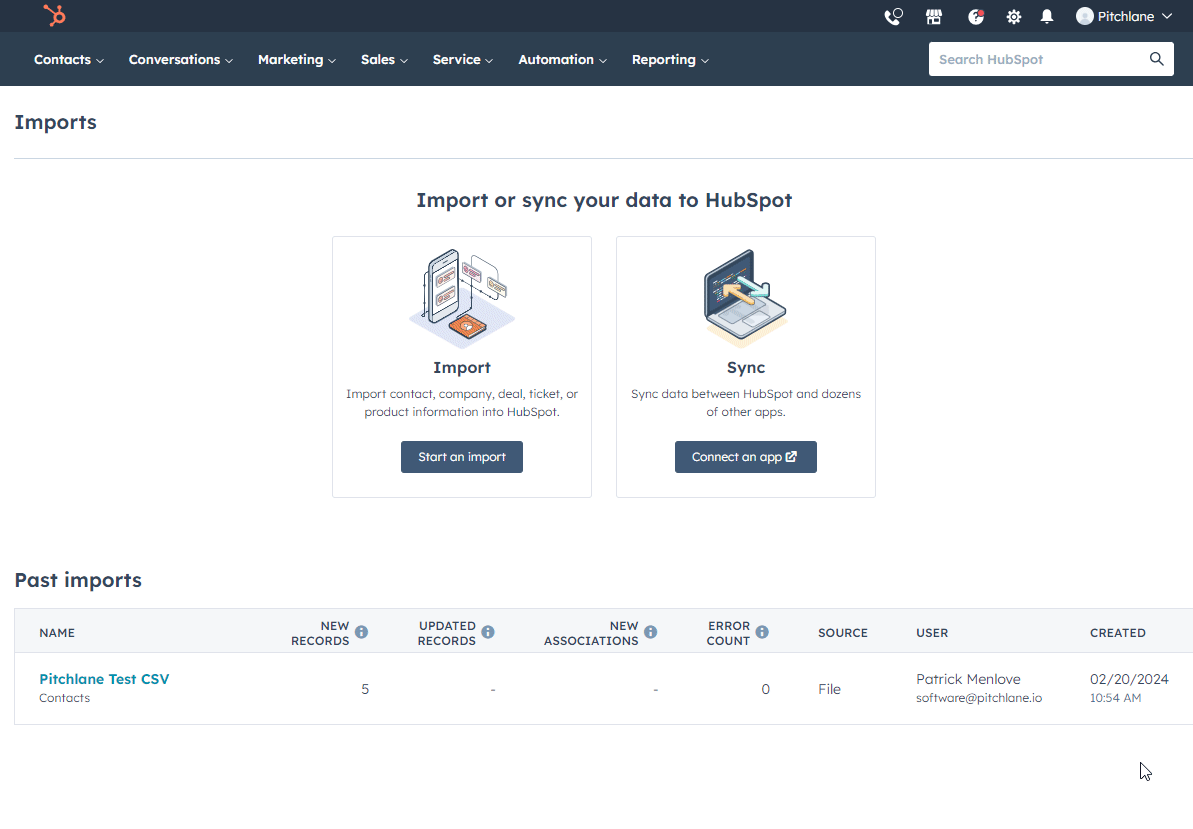
1. Go to Hubspot's Contacts section and click Import
2. Click through the options:
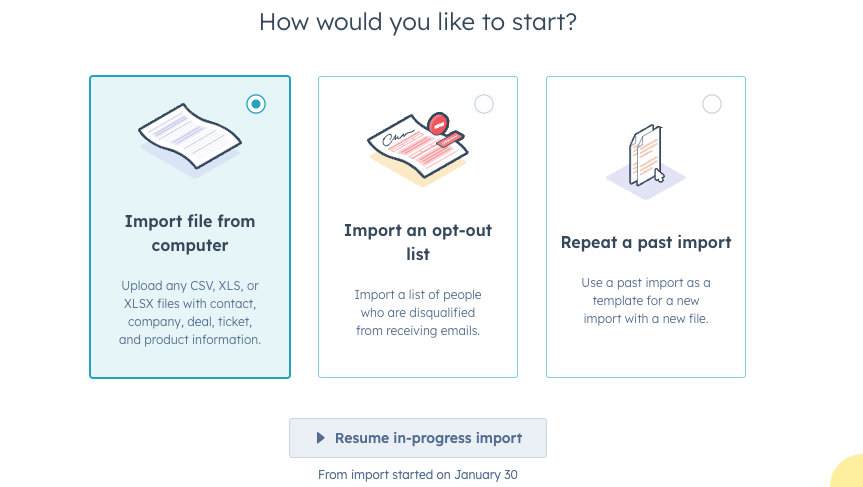
1. Start an import
2. Import file from computer
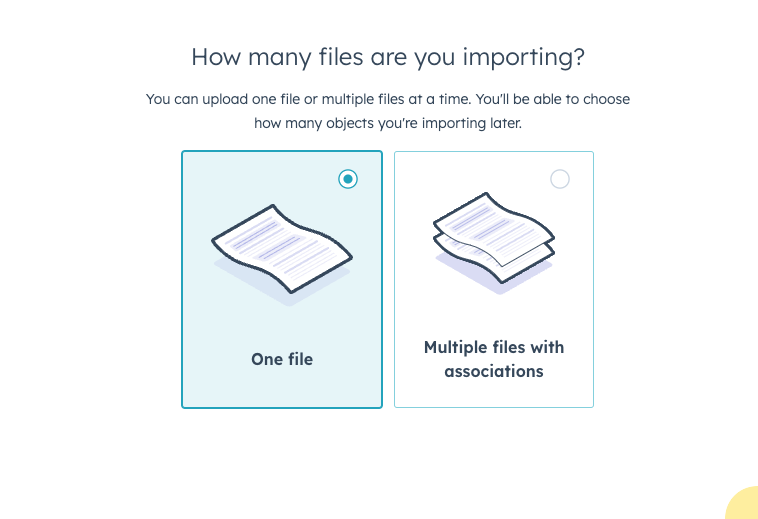
3. How many files are you importing? -> One File
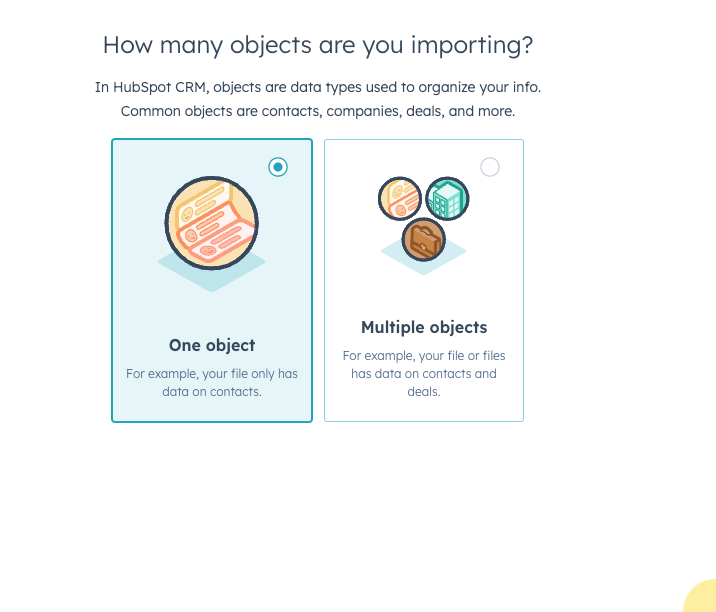
4. How many objects are you importing? -> One Object
5. Select an object you'd like to import -> Contacts
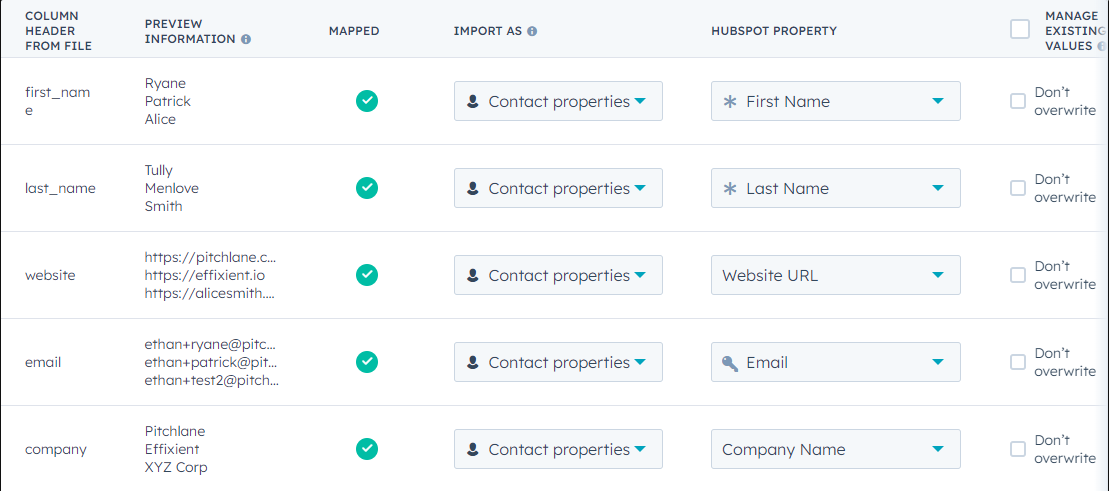
Upload your CSV file of contacts from Scaloom
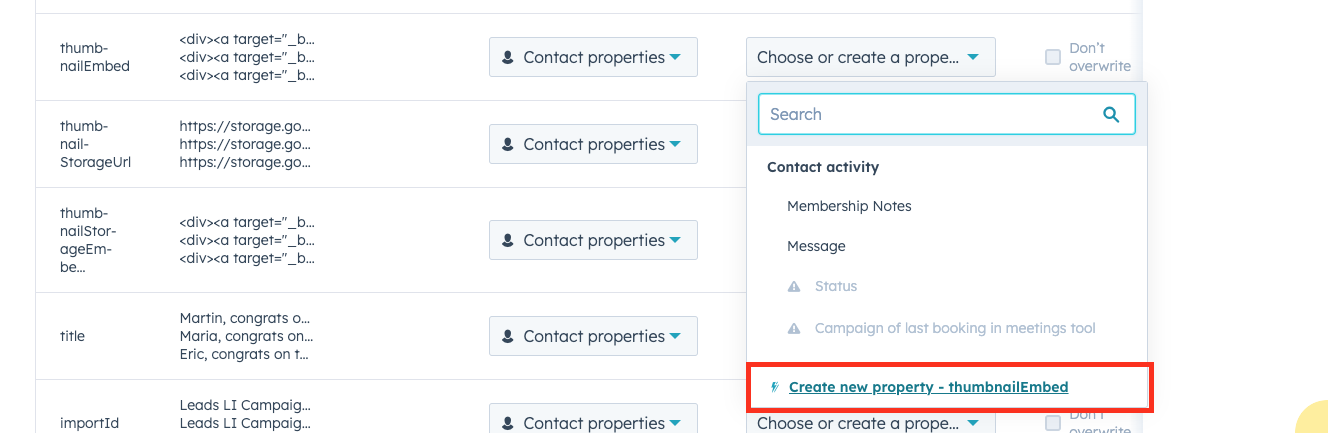
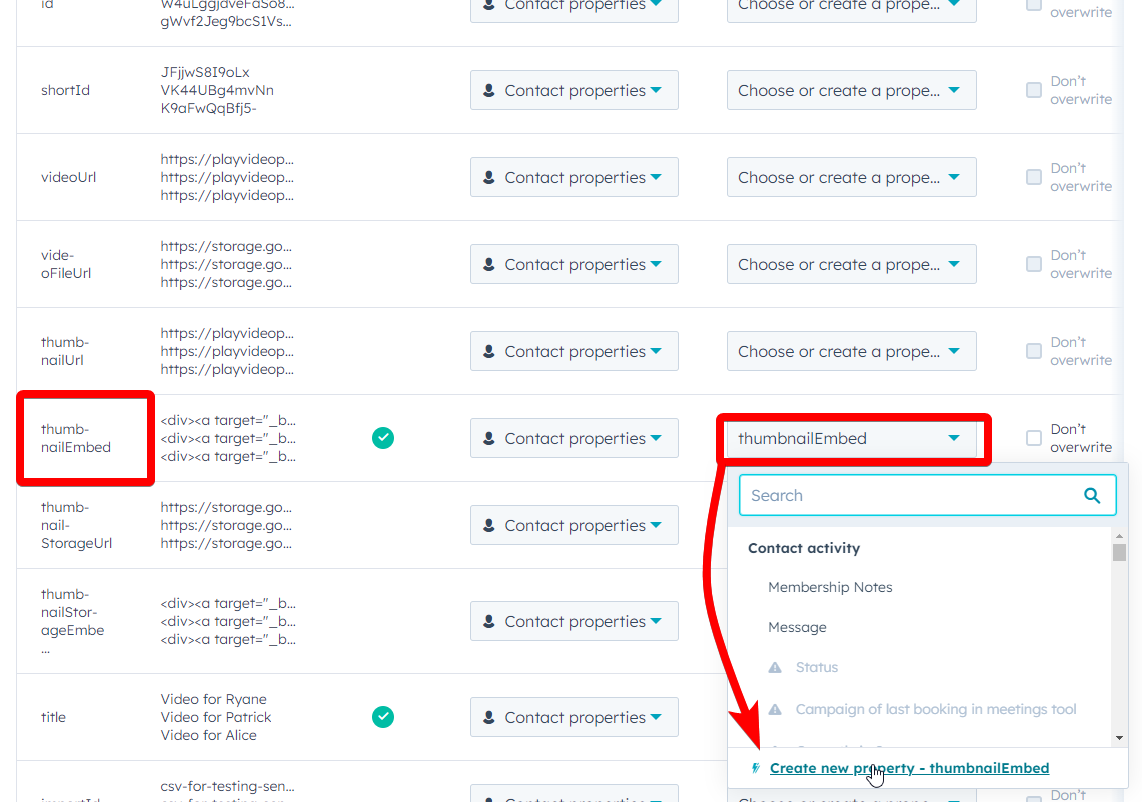
On the "Map" screen, find the `thumbnailEmbed` column
6. Unless you have already created the thumbnailEmbed property on your Contacts in hubspot, click "Create new property - thumbnailEmbed"
7. Click "Review Property Details"
8. Click "Next"
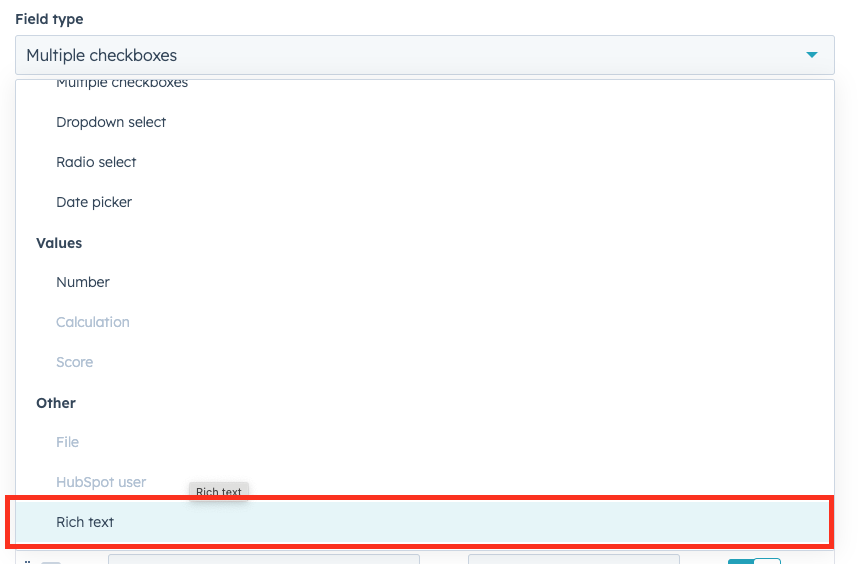
9. Select Field Type: "**Rich text**" & click Next
10. Click "Create"
3. Finish importing contacts
\
#### Creating a Marketing Email
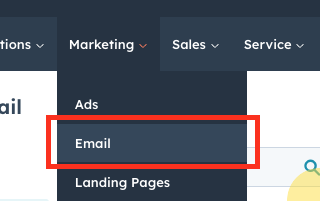
1. Go to Marketing -> Email
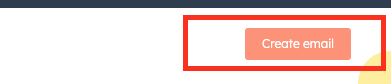
2. Click Create email
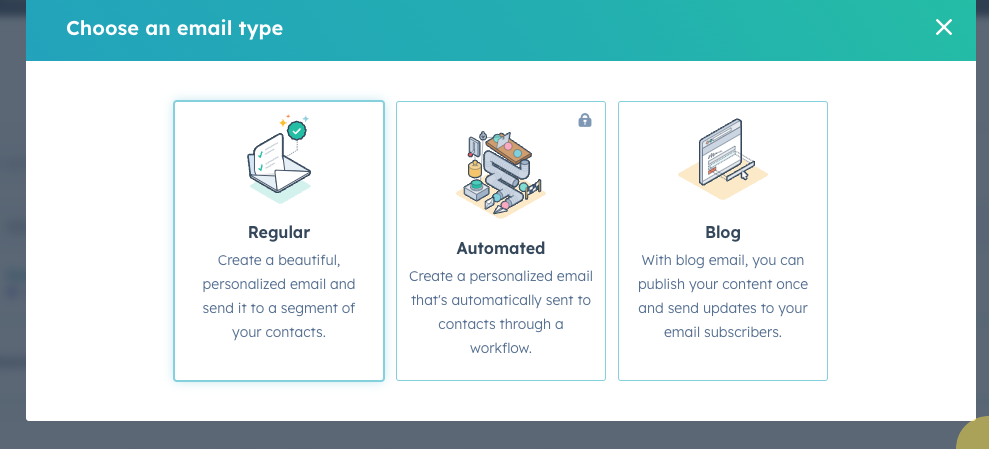
3. Select Regular
4. Select a template that you like
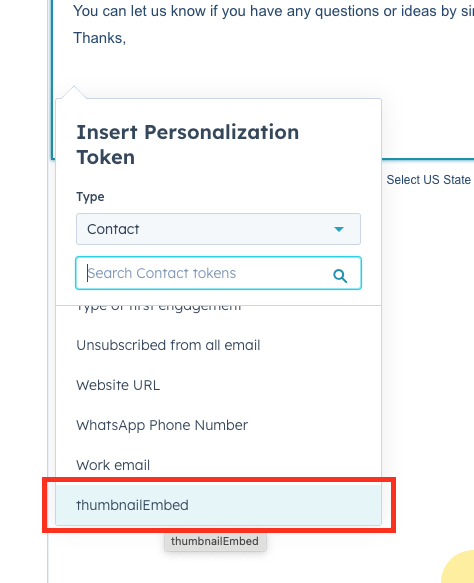
5. Click on Personalise when you want to insert your analyses thumbnail, and select the `thumbnailEmbed` property from the Contact
####
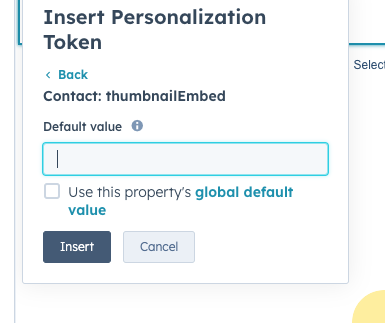
6. As a default value, you can use a single empty space " "
7. Send your email as normal and engage your prospects like never before!
## Sequences
1.) Select "Contacts" and select "Import"
2.) Select Start an Import and select "Import file" from Computer
3.) Upload your Scaloom CSV and map the fields.
4.) Locate "ThumbnailEmbed" and create and assign a new property
5.) Select "Don't import data in unmapped columns" and the select "Next"
6.) Rename your Import and create a list from the import!
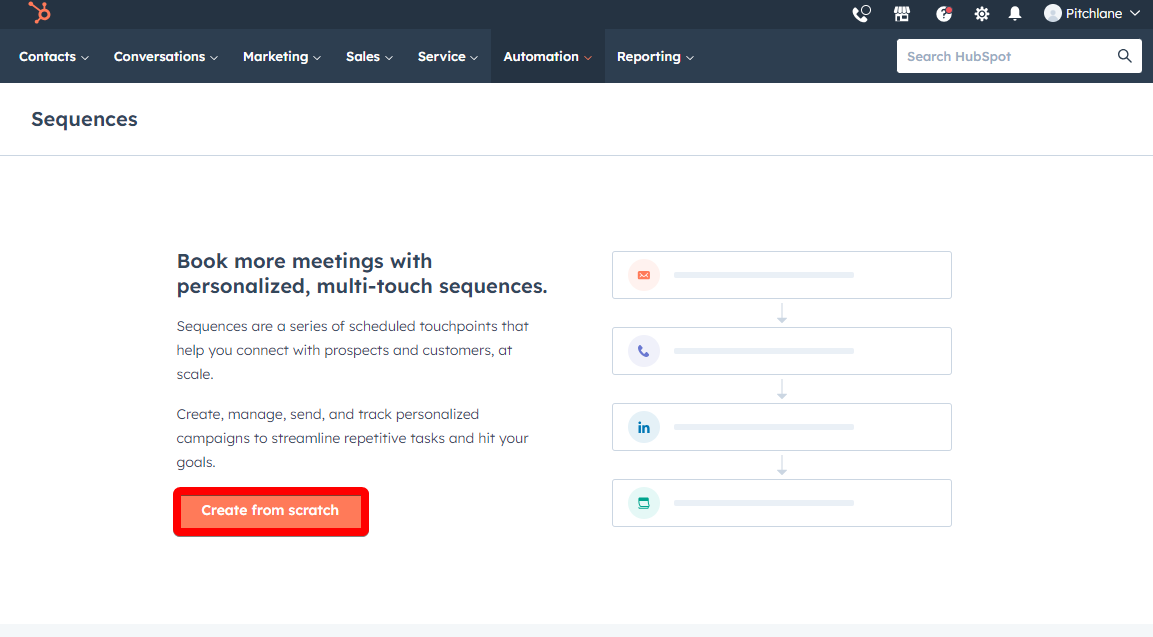
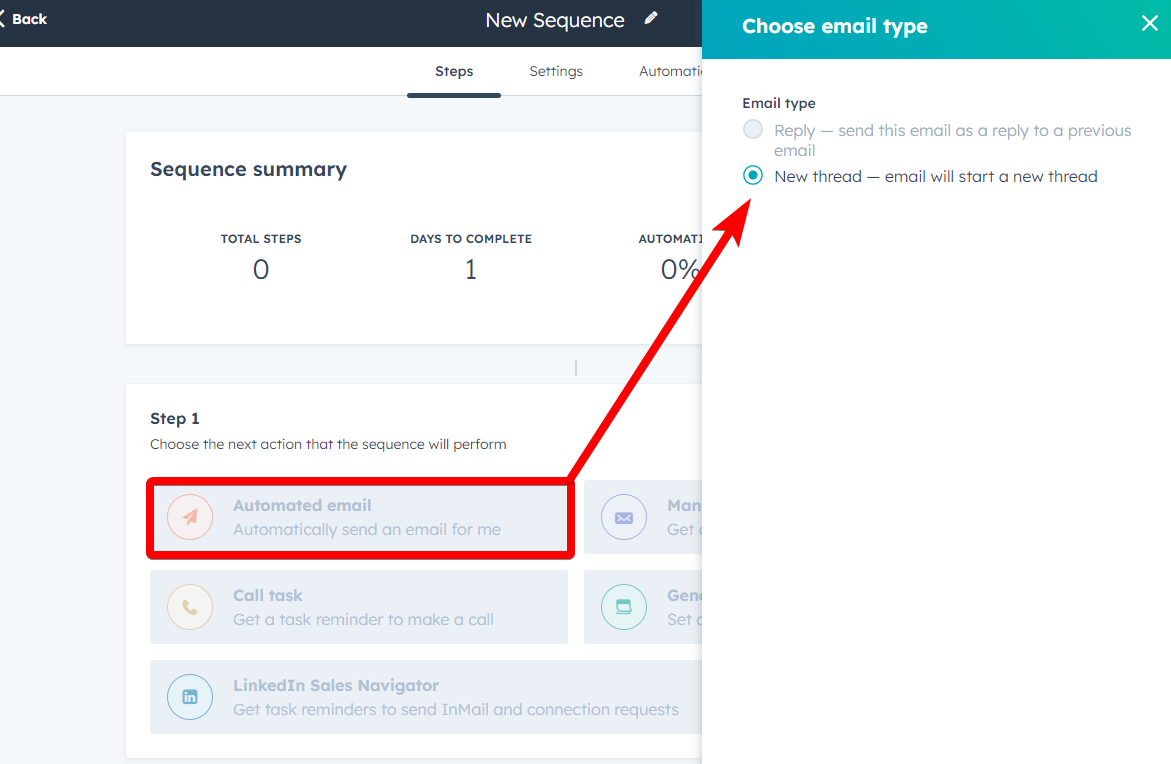
7.) Select Automations then create a new sequence
8.) Select Automated Email and select "New Thread"
9.)Select your Template or Create a New One
10.) Populate the email with the content you want to send out to your customers.
11.) Implement your Scaloom analyse through selecting "Personalize" and selecting "thumbnailEmbed" under "Contact"
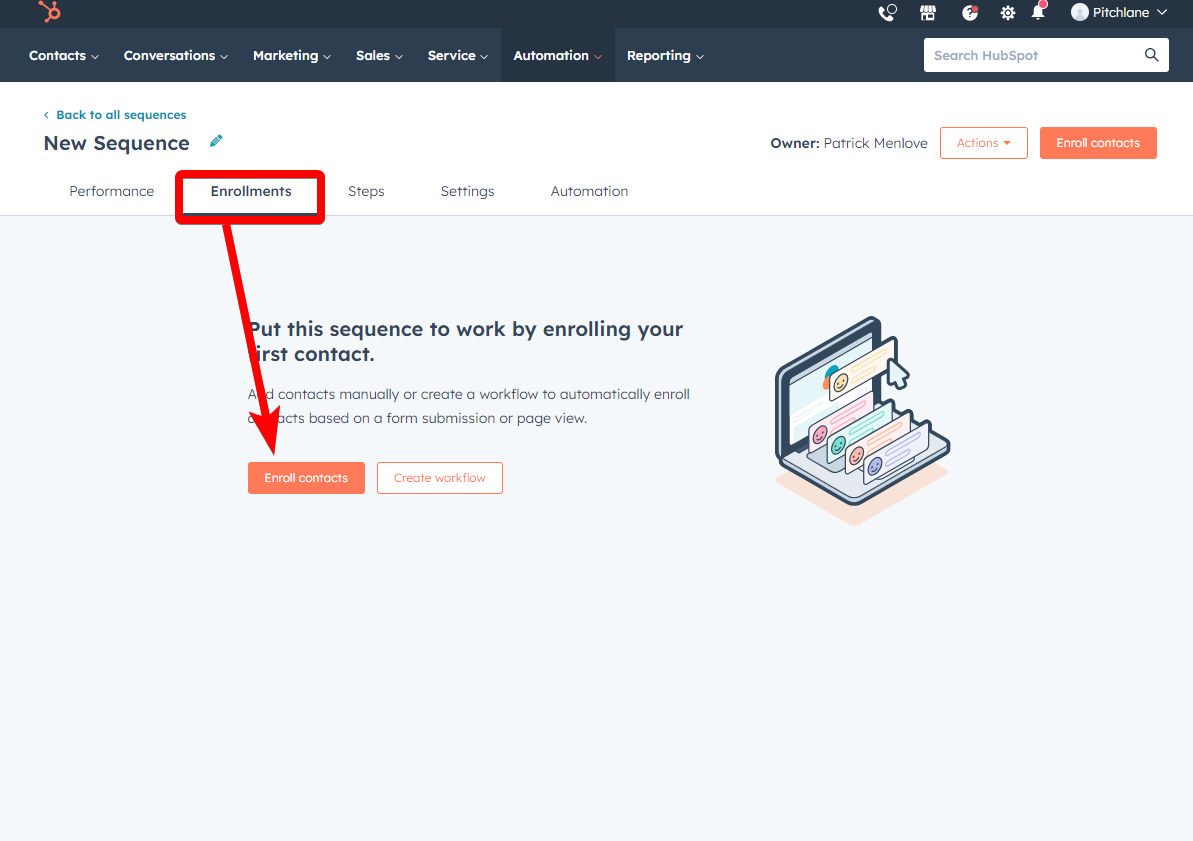
12.) Select save and navigate to the enrolment tab.
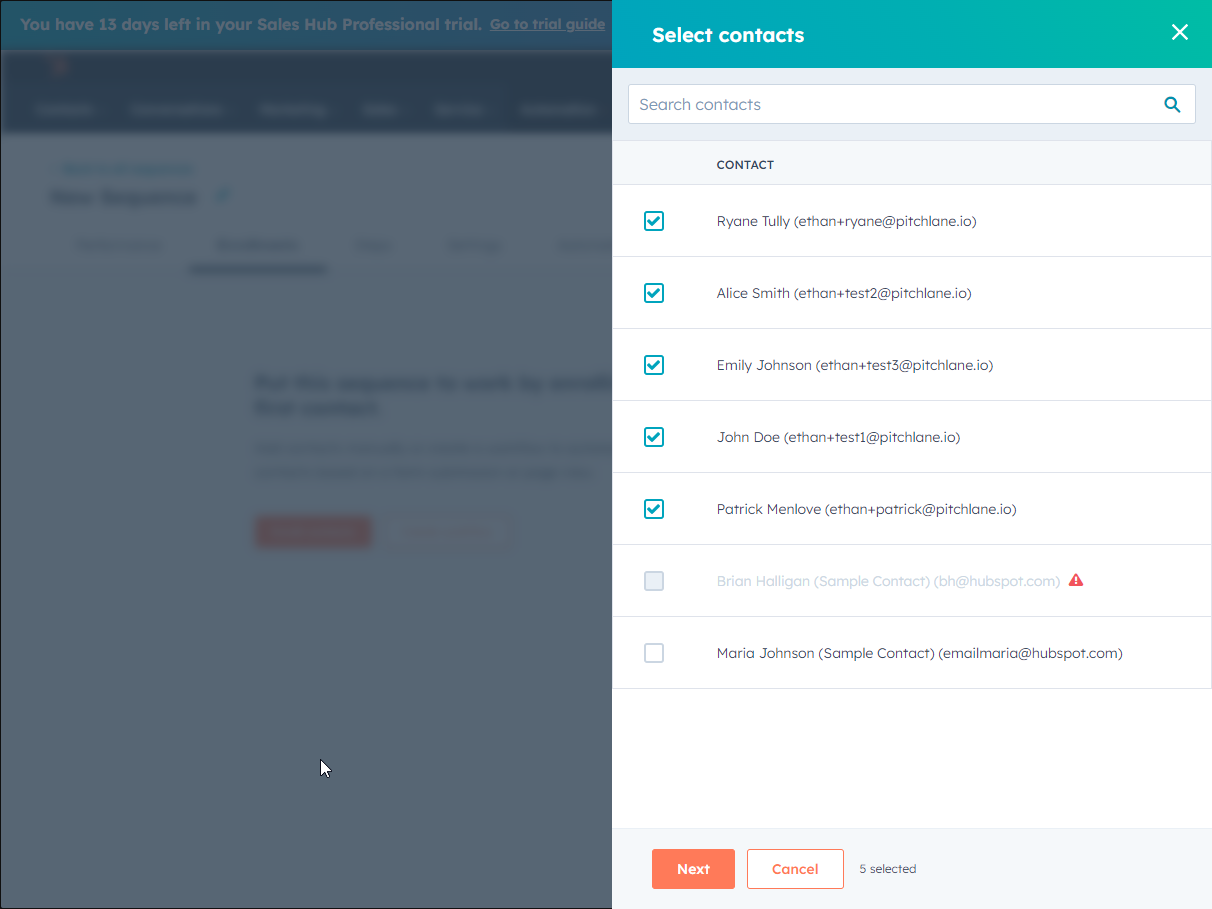
13.) Select your contacts from your Scaloom CSV
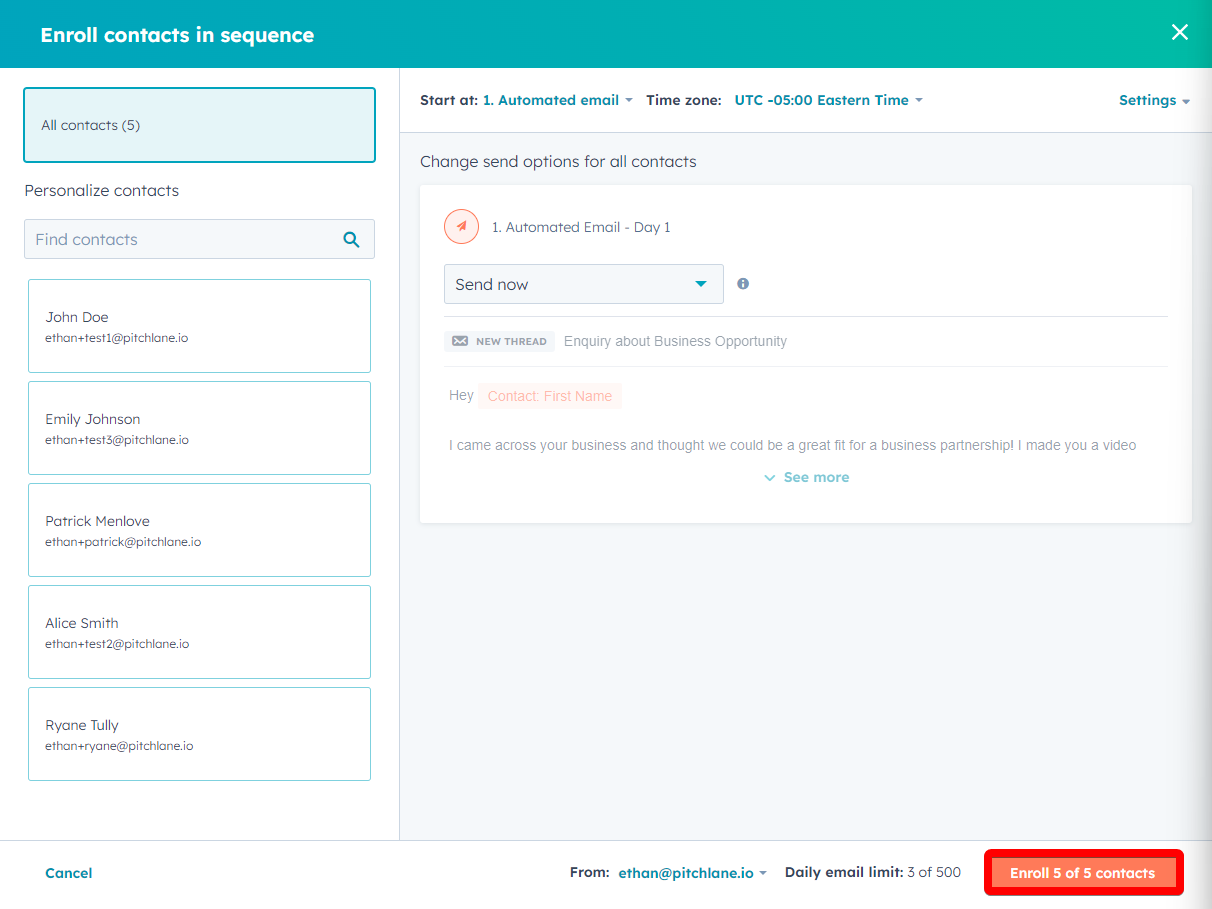
14.) Select "Next" and then "enroll your contacts"
15.) Congratulations! Your contacts will now receive their Scaloom analyses!
---
# Agent Instructions: Querying This Documentation
If you need additional information that is not directly available in this page, you can query the documentation dynamically by asking a question.
Perform an HTTP GET request on the current page URL with the `ask` query parameter:
```
GET https://scaloom.gitbook.io/scaloom/integrations/how-to-use-scaloom-with-hubspot.md?ask=
```
The question should be specific, self-contained, and written in natural language.
The response will contain a direct answer to the question and relevant excerpts and sources from the documentation.
Use this mechanism when the answer is not explicitly present in the current page, you need clarification or additional context, or you want to retrieve related documentation sections.