> For the complete documentation index, see [llms.txt](https://scaloom.gitbook.io/scaloom/llms.txt). Markdown versions of documentation pages are available by appending `.md` to page URLs; this page is available as [Markdown](https://scaloom.gitbook.io/scaloom/integrations/how-to-use-scaloom-with-gozen.md).
# How to use Scaloom with Gozen
1.) Export your Scaloom Analyses as CSV from the "Export" tab of your Scaloom campaign
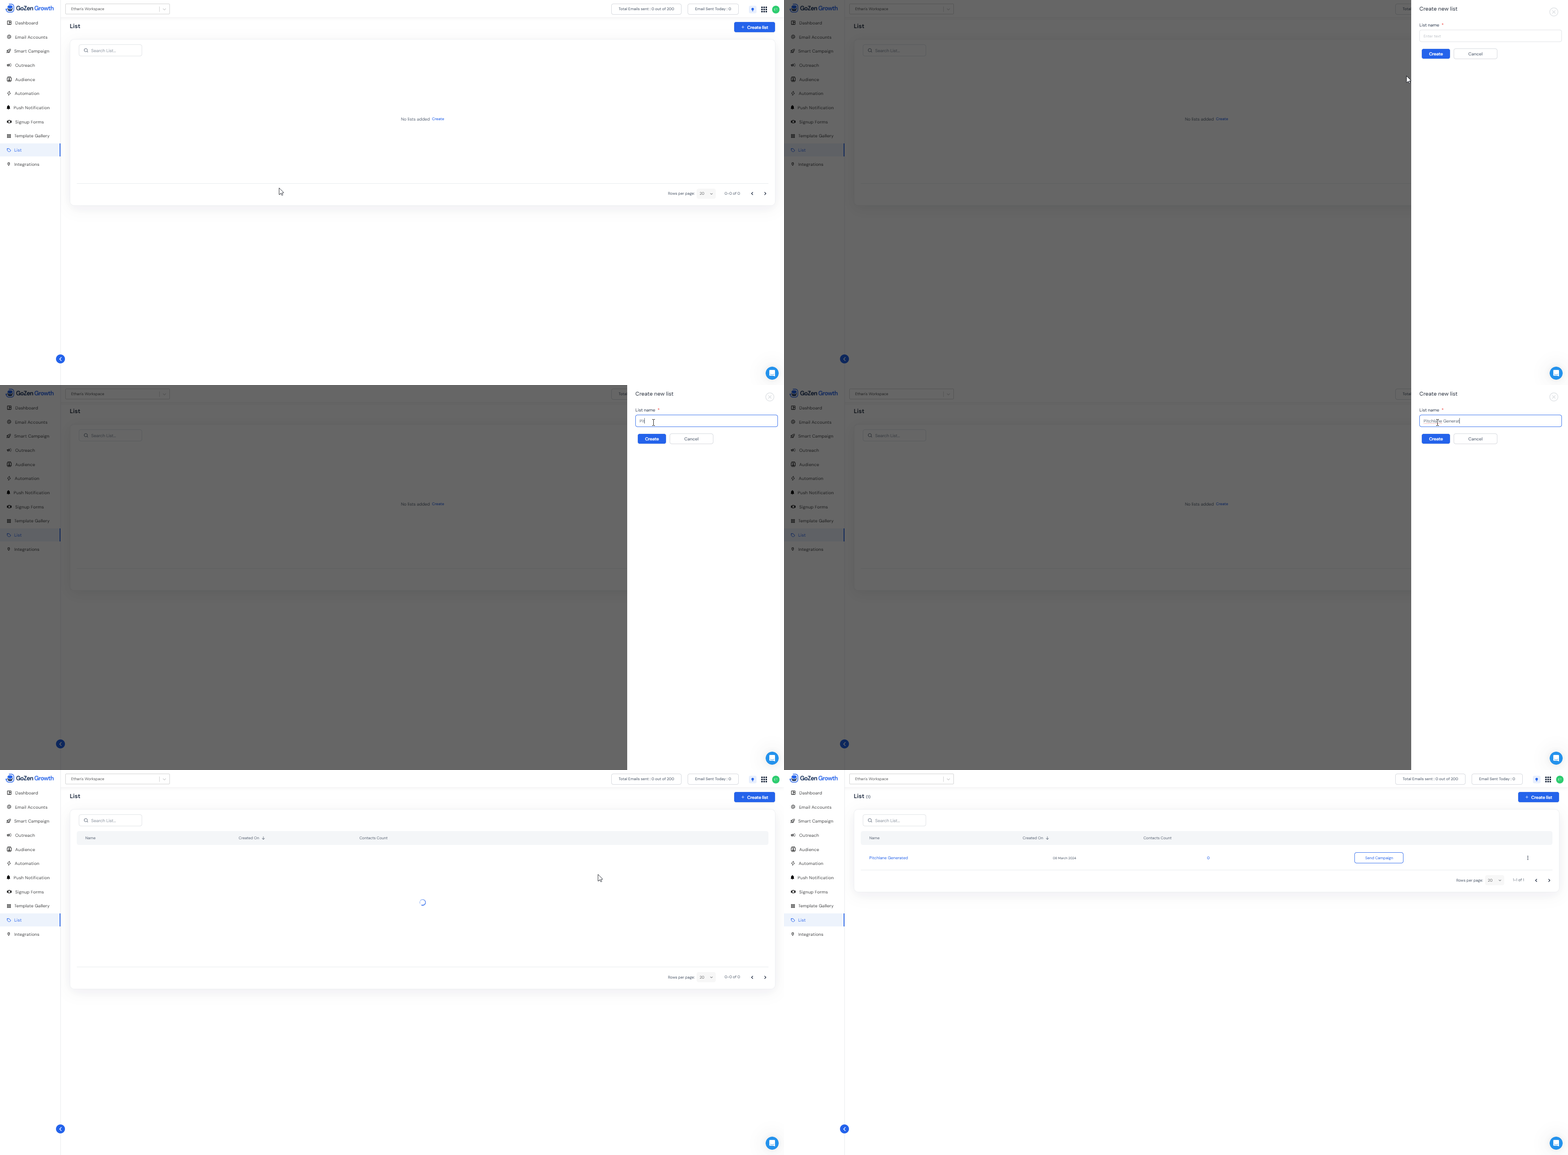
2.) Create a new list
3.) Add a new Campaign
4.) Set up your campaign
5.) Select from Scratch
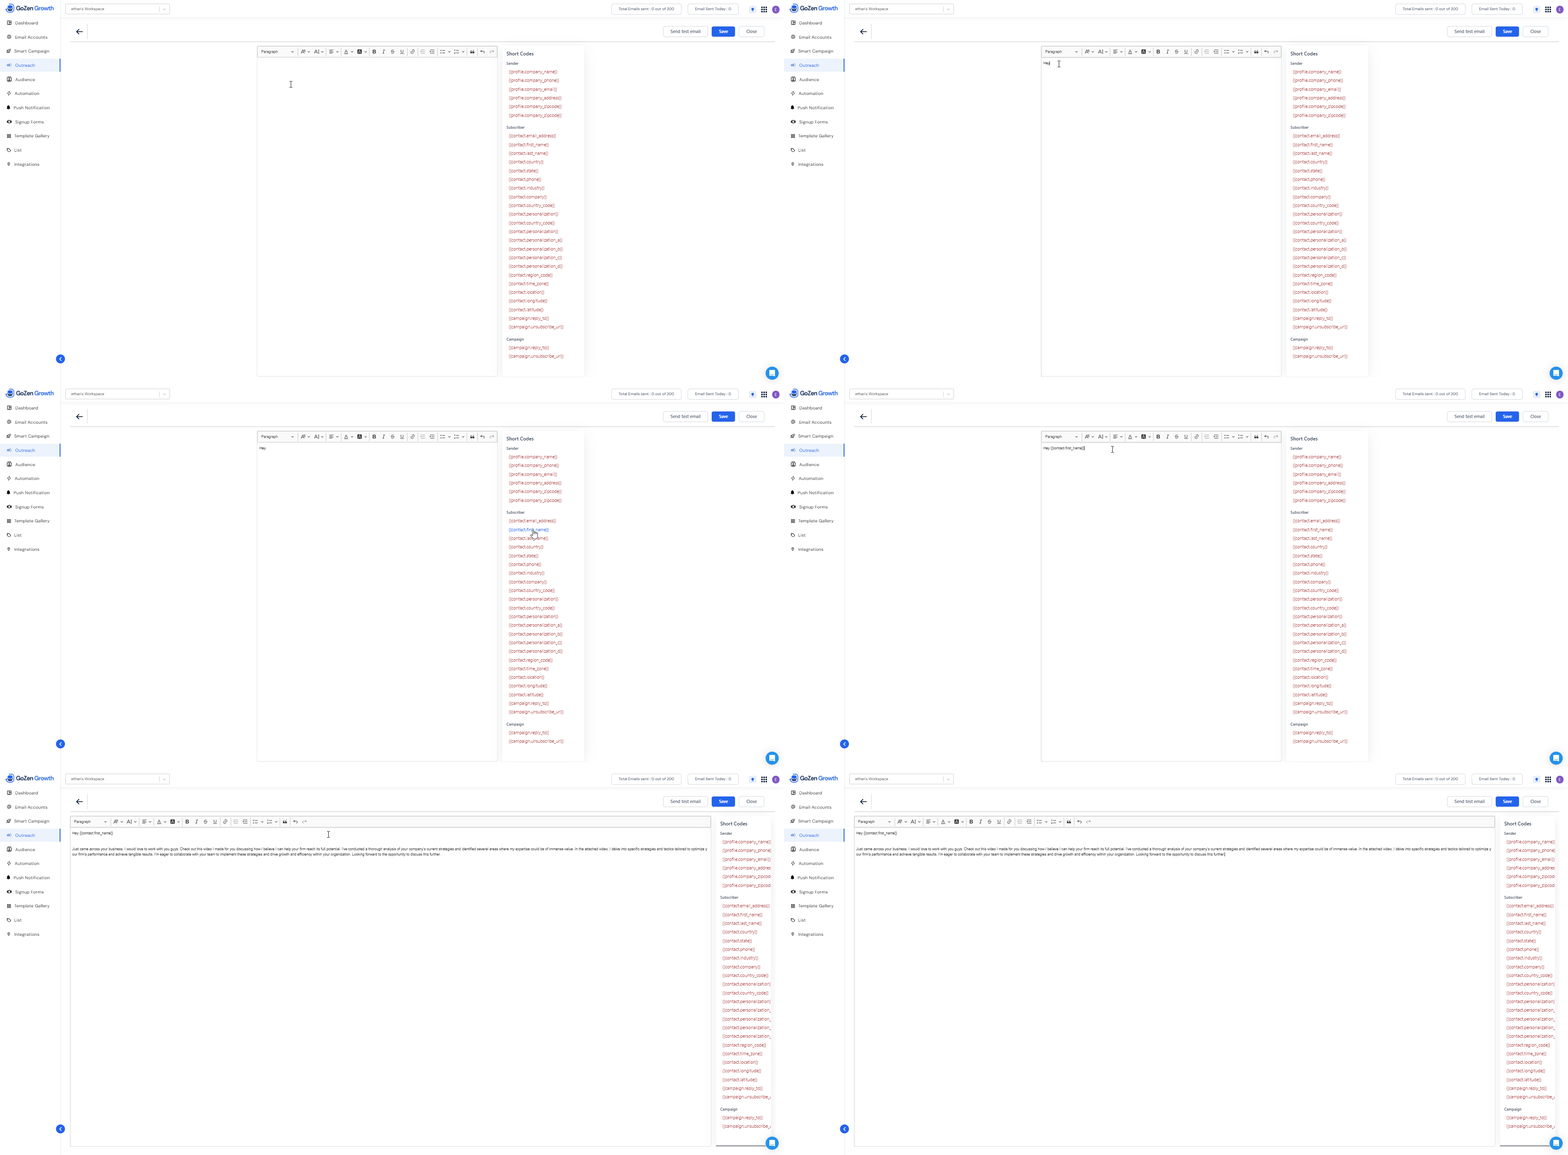
6.) Select, "Plain Text"
7.) Craft your Outreach. Note: We recommend following our [deliverability guide](https://secure.helpscout.net/docs/649125630ea12d68491ea279/article/64912058b9244d7f7a794f90/) to ensure your emails maximise their deliverability.
8.) To implement your Scaloom email, add the "Personalisation\_A" variable.
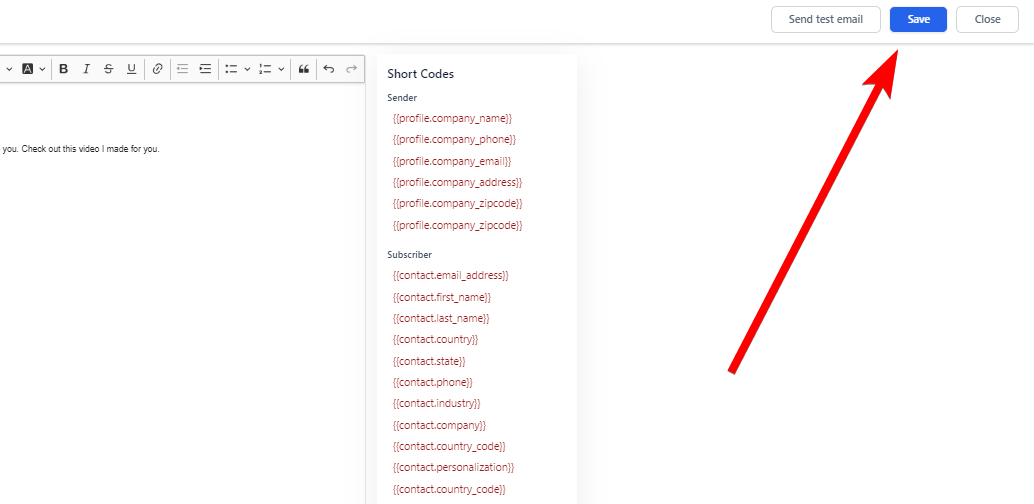
9.) Select the Save button
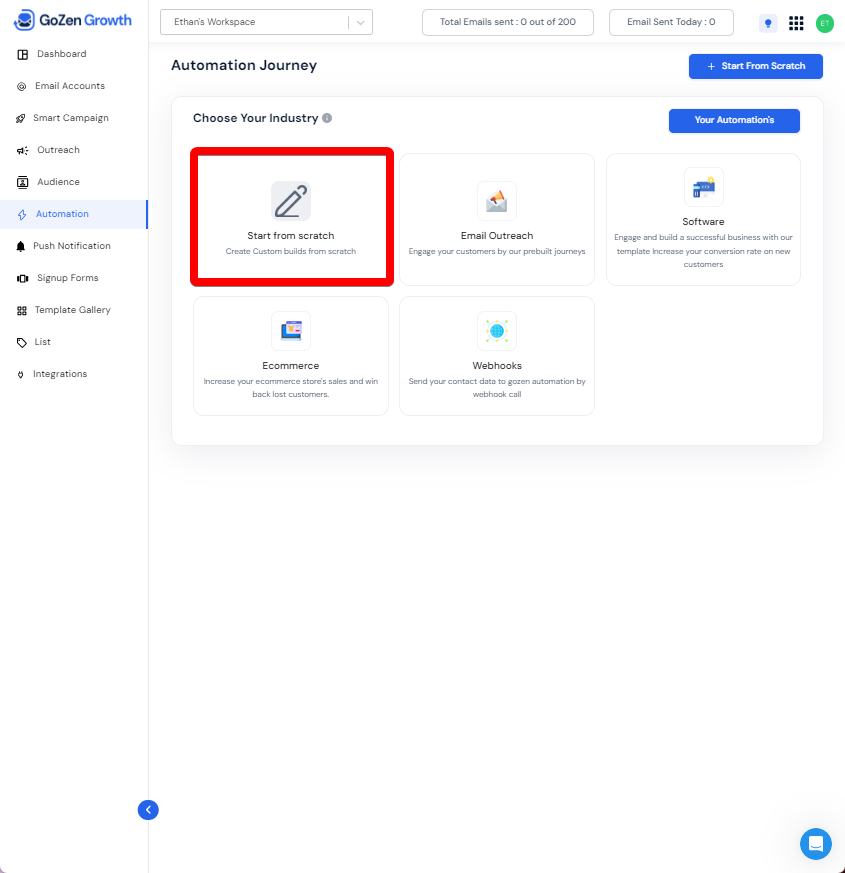
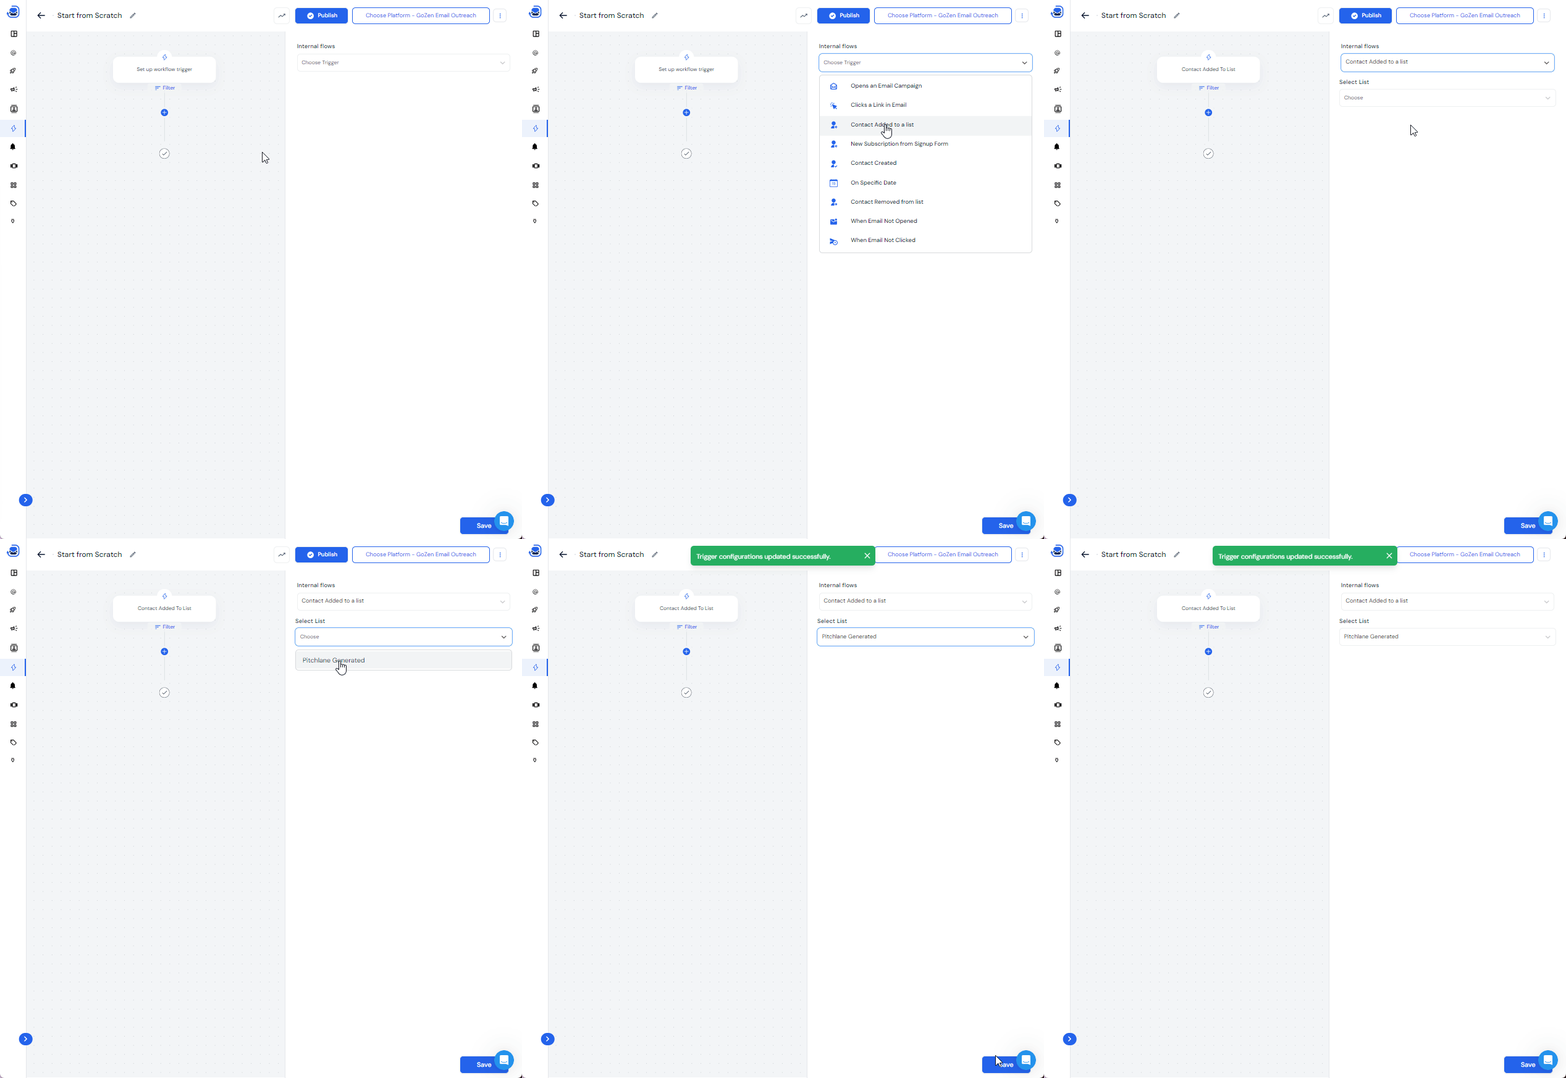
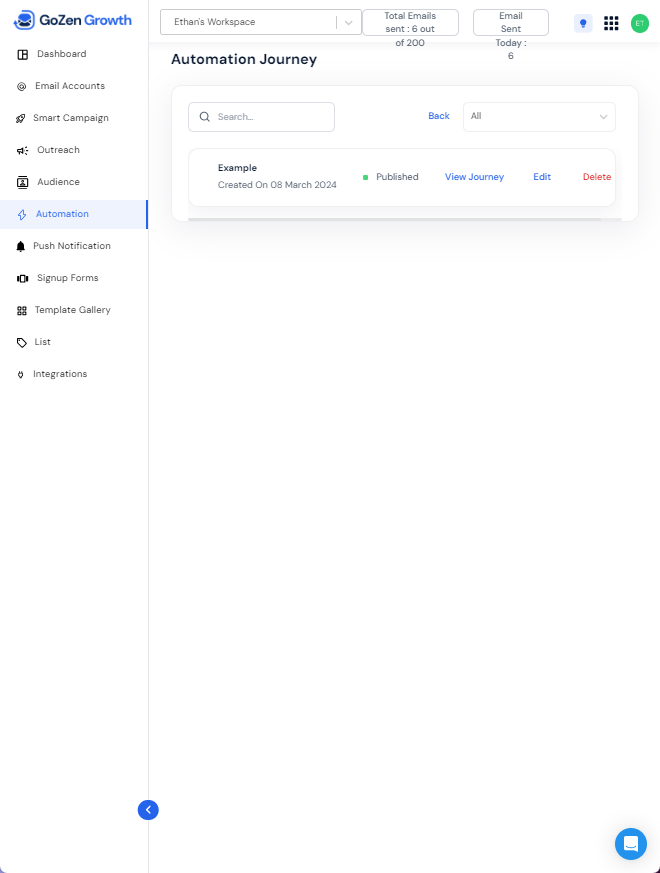
10.) Navigate to "Automation" and select "From Scratch"
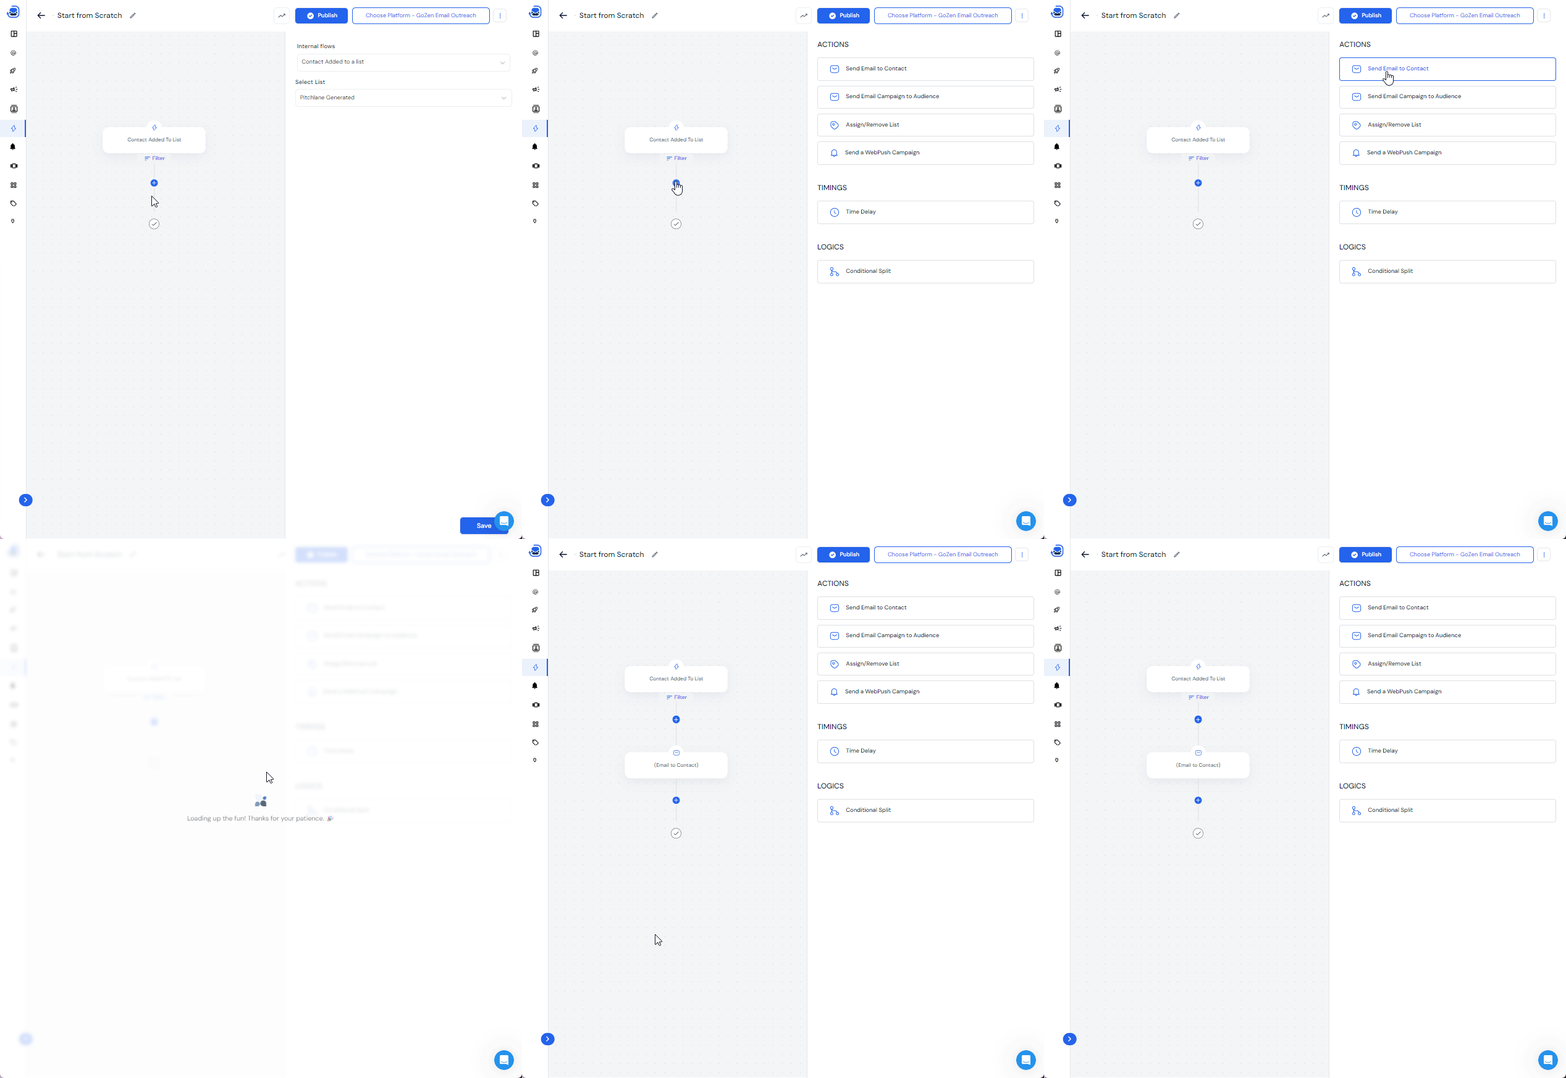
11.) Select, "Set Up WorkFlow Trigger" and select, "When Contact is Added to List" and select the list you created.
12.) Select the plus button and create an email sequence.
13.) Select the Campaign you just created for the template of your message.
14.) Select "Save" & "Publish".
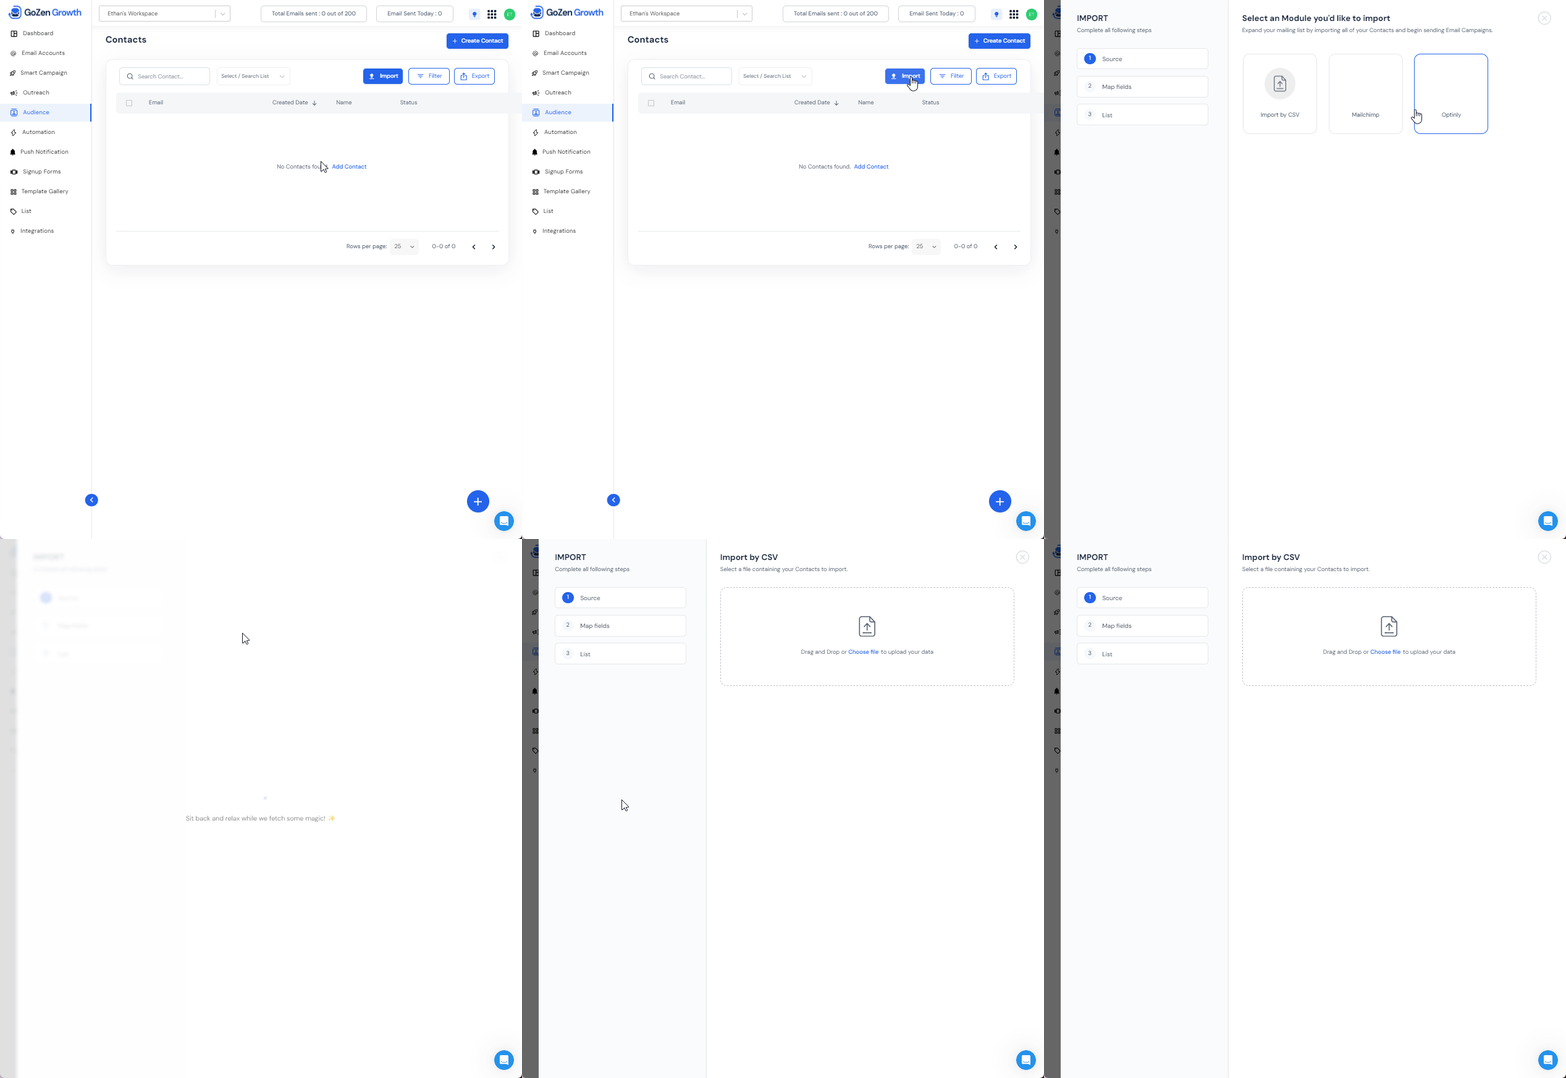
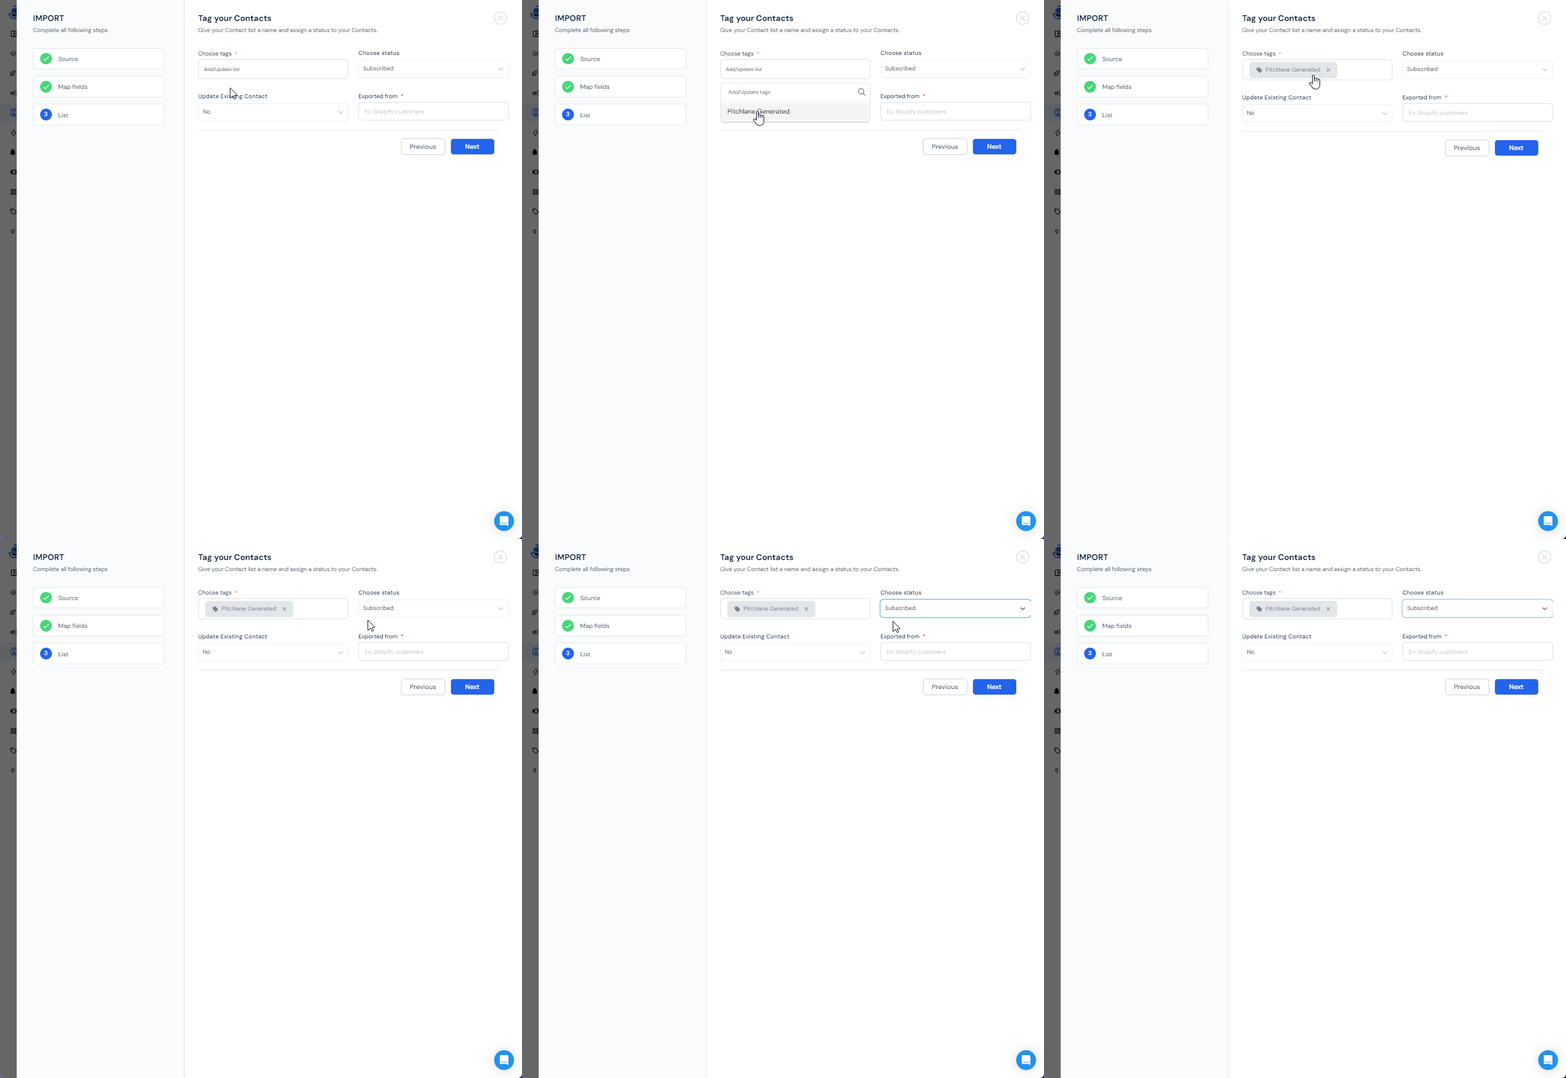
15.) Navigate to "Audience" and Import your leads.
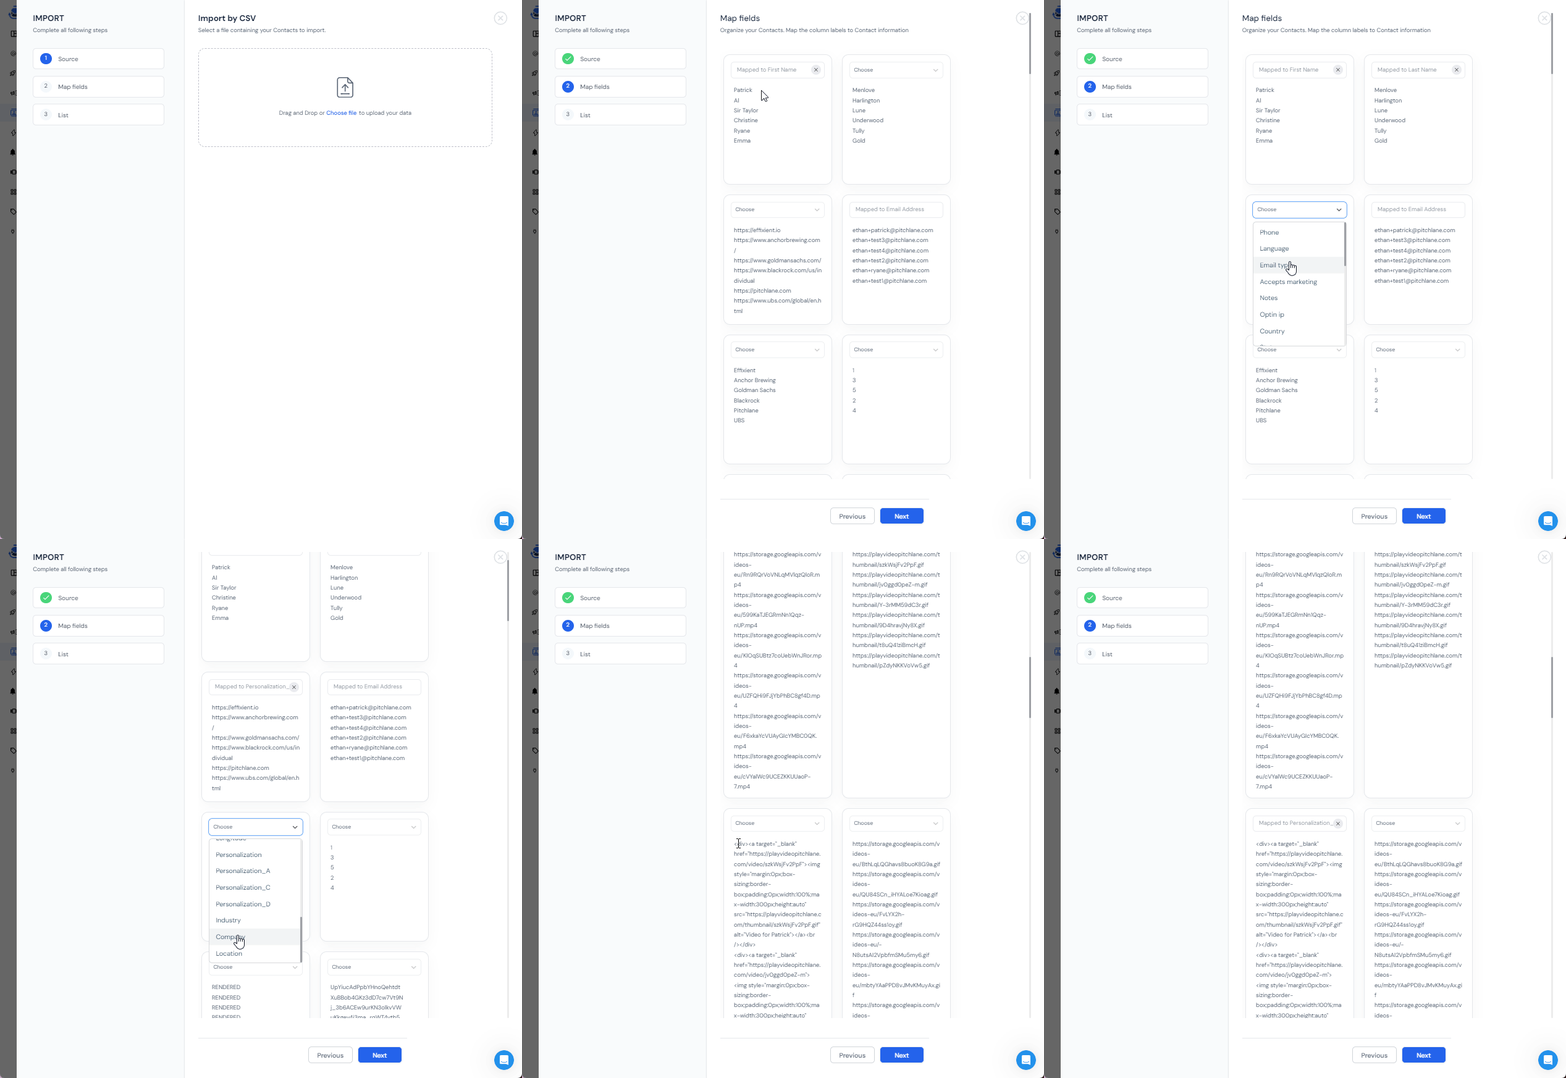
16.) Locate the "thumbnailEmbed" field and map it to "Personalisation\_A". The thumbnailEmbed field can be identified by the use of HTML formatting i.e. \
17.) Select, "Next" and choose the list you created in step 2.
18.) Select, "Next" again and ensure your Automation sequence is Published!
\
19.) Head to Audience check the box selecting all your leads. Unsubscribe & Resubscribe them and readd them to the Lead list.
20.) Your leads will now receive their Scaloom analyses!
---
# Agent Instructions
This documentation is published with GitBook. GitBook is the documentation platform designed so that both humans and AI agents can read, navigate, and reason over technical content effectively. Learn more at gitbook.com.
## Querying This Documentation
If you need additional information that is not directly available in this page, you can query the documentation dynamically by asking a question.
Perform an HTTP GET request on the current page URL with the `ask` query parameter:
```
GET https://scaloom.gitbook.io/scaloom/integrations/how-to-use-scaloom-with-gozen.md?ask=
```
The question should be specific, self-contained, and written in natural language.
The response will contain a direct answer to the question and relevant excerpts and sources from the documentation.
Use this mechanism when the answer is not explicitly present in the current page, you need clarification or additional context, or you want to retrieve related documentation sections.